Creating an automated message to notify the customer that the supplier has dispatched the
The short answer
Edit the purchase order pre-build, open Automated Messages, and create a new blank message that triggers on the status you choose. Put {ClientContactEmail} in the To field, add a subject using {LinkedJobs}, and include {TrackingShipper} and {TrackingLink} in the email text so the customer gets the shipper name and a tracking link.
Steps
Click this link
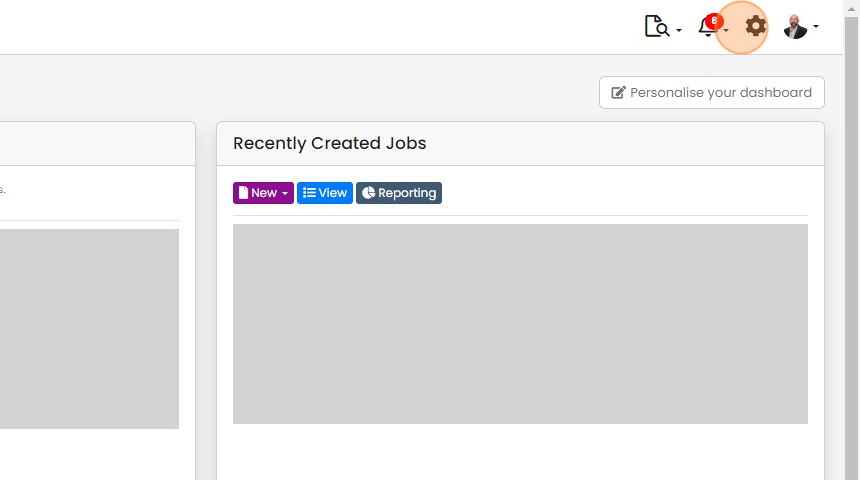
Click "Prebuilds"
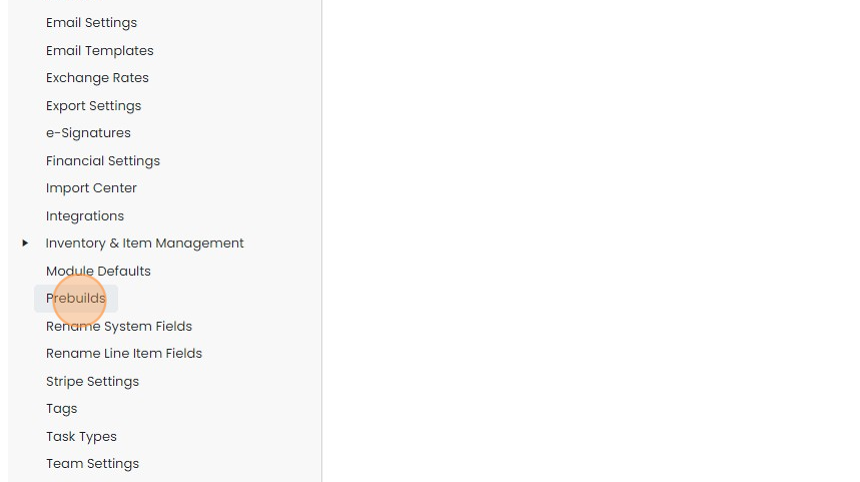
Click on Purchase Orders
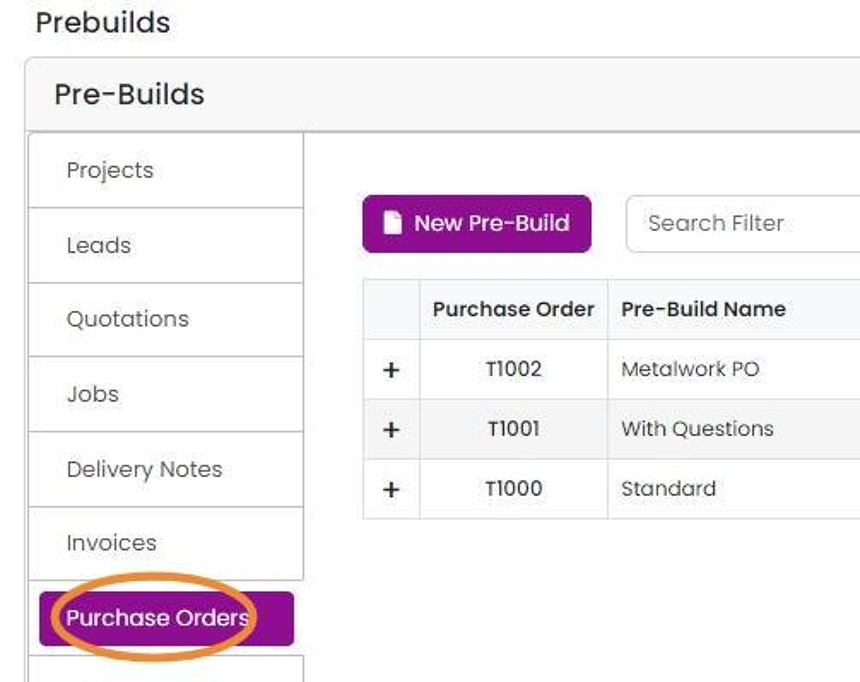
Edit the pre-build

Click "Automated Messages"
Create the automated message
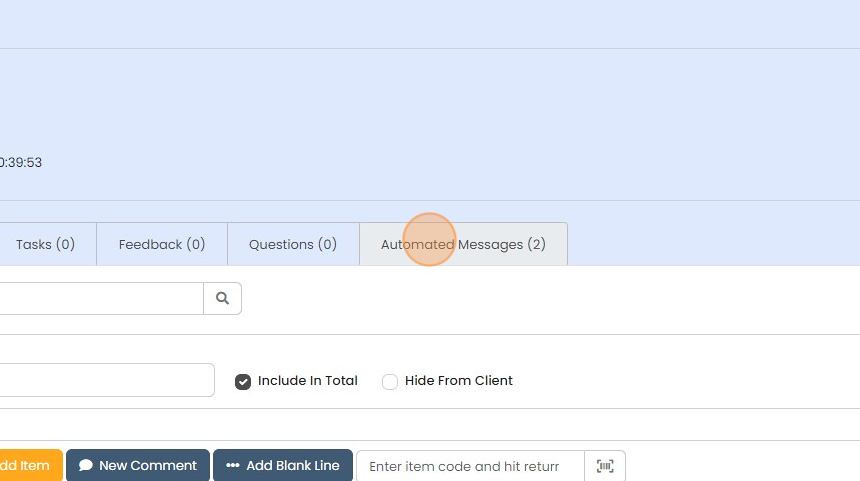
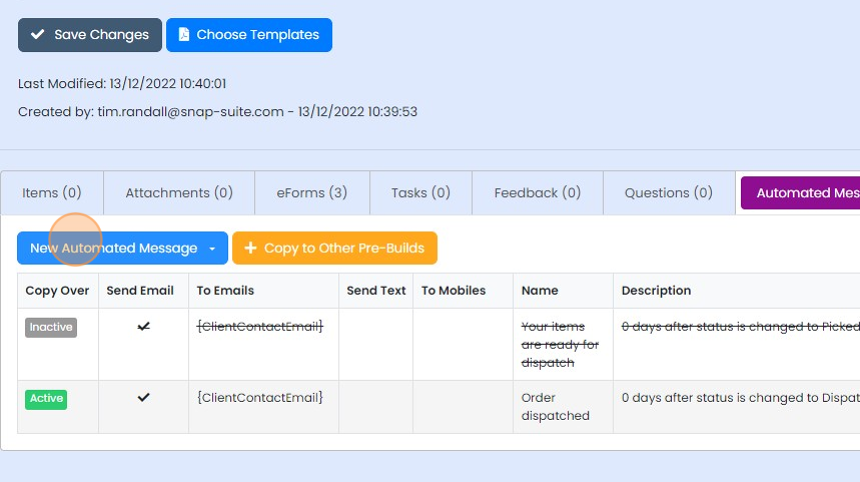
Click "New Automated Message"
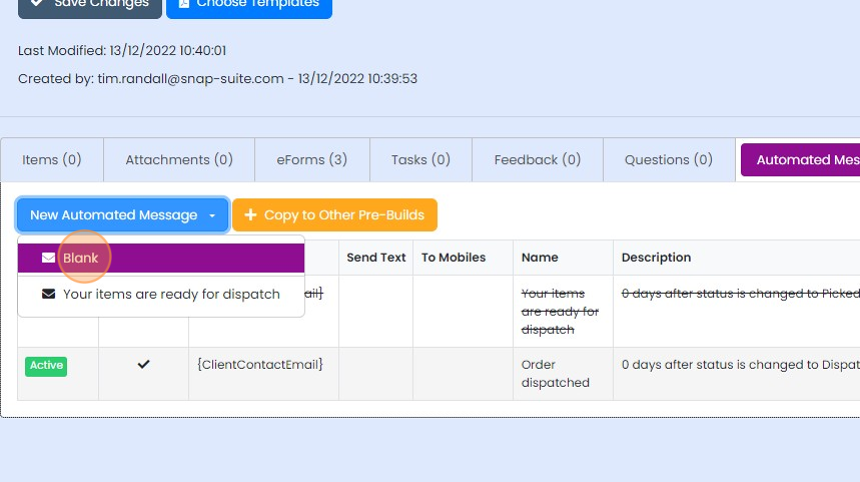
Click "Blank"
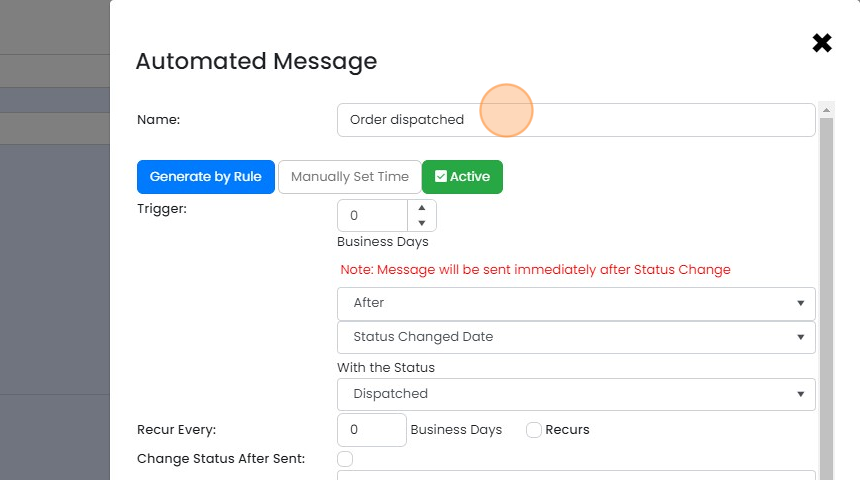
Give the message a name (for internal use only)
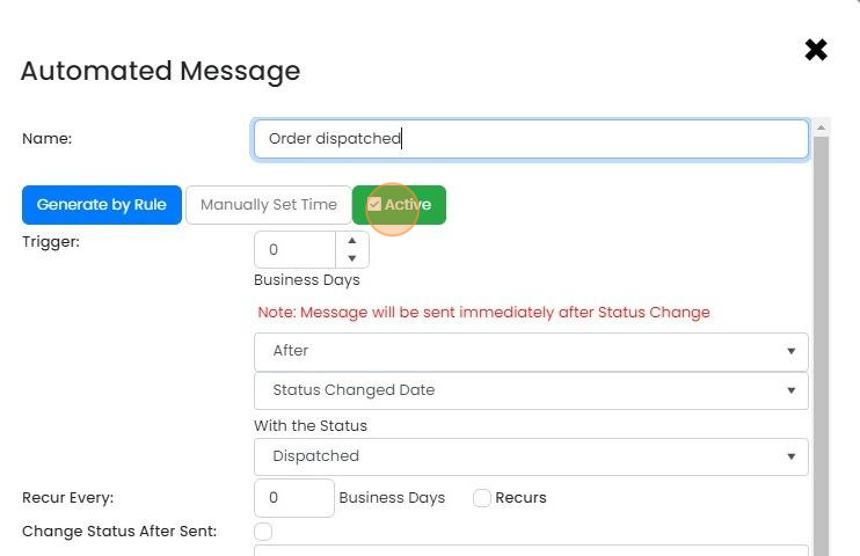
Make sure the message is "Active"
Set the status to the one you want to trigger the email on
Set up the email content

Put {ClientContactEmail} in the "To" field
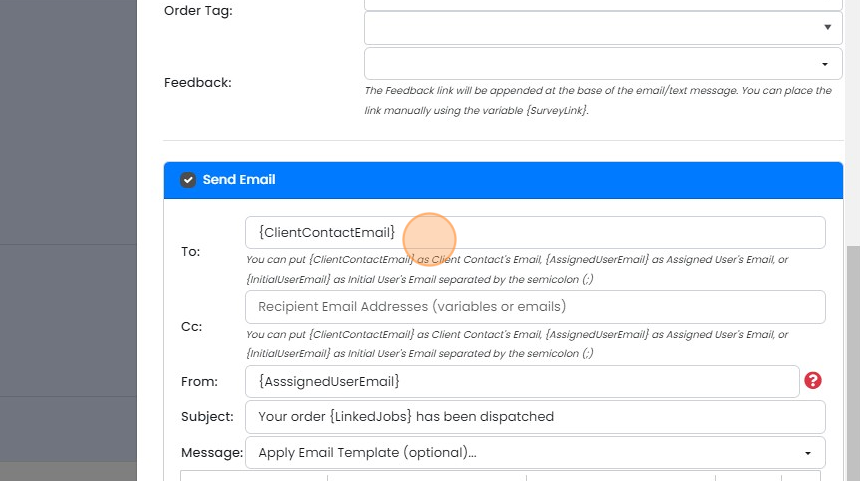
Set either the assigned user's email or a specific account, such as dispatch@yourcompany.com
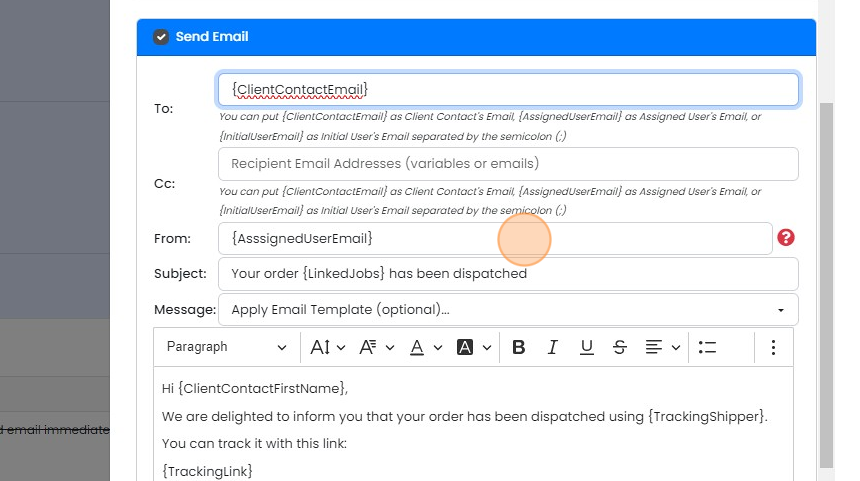
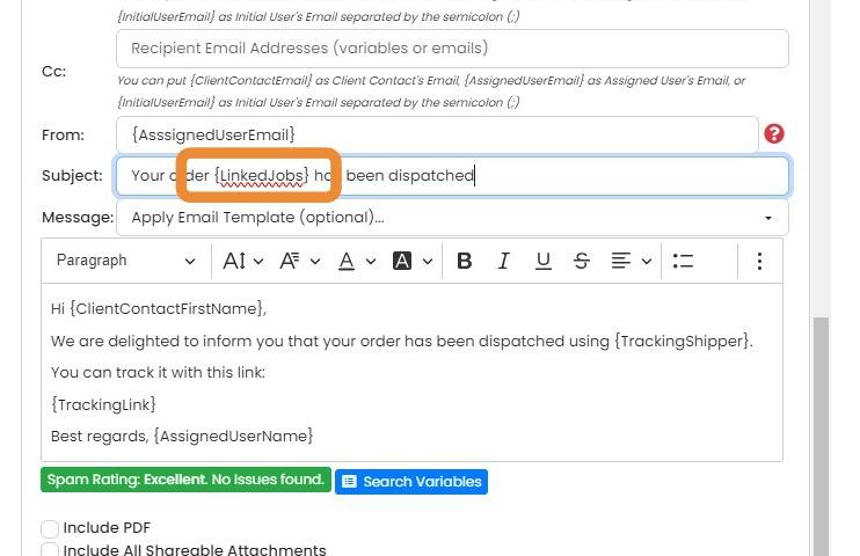
Enter a subject. Use the {LinkedJobs} variable to refer to the Job/Sales Order number
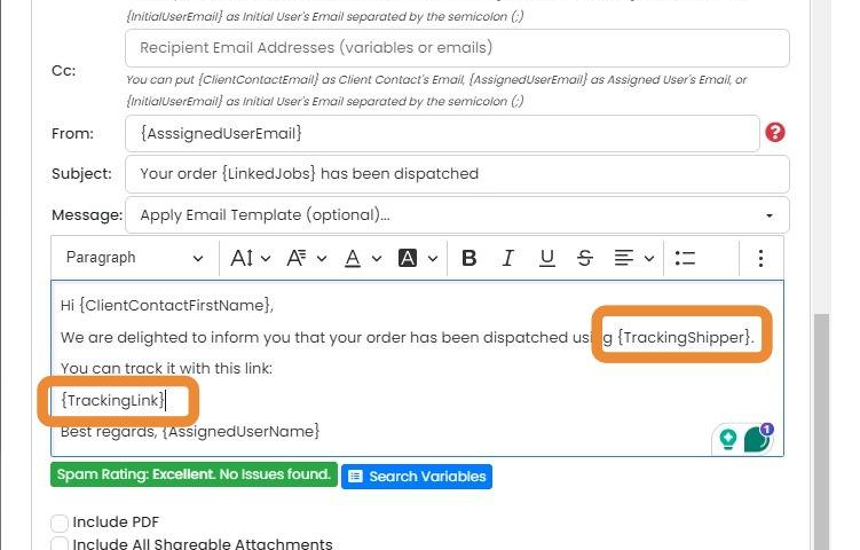
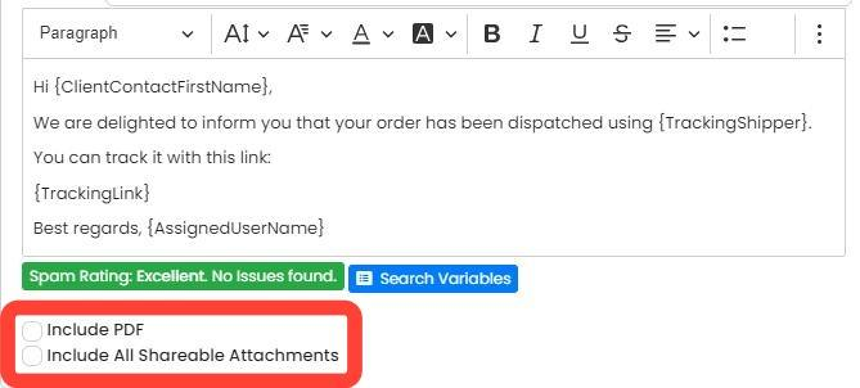
Add these tags to the email text
{TrackingShipper} - the name of the shipping company
{TrackingLink} - this will take the customer to that shipper's tracking page with the tracking number pre-set
Make sure these are unticked; otherwise, you will send the customer your purchase order to your supplier
If you want to send details of what is being shipped, do not use this method. Instead, a delivery note can be created from the PO so set up an automated email from that instead. It can also include a PDF with details of the shipment
Test and copy the message
Check the email works
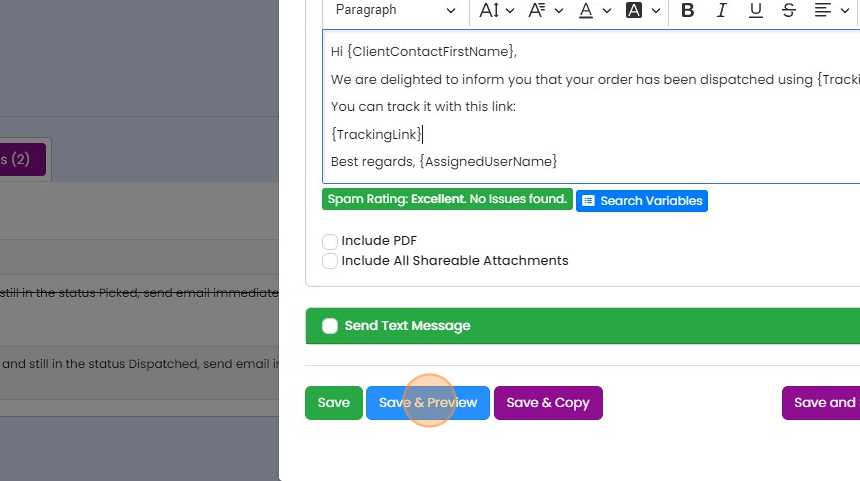
If any variables are not recognized, they will still have the {} brackets around them
If any variables are not recognized, they will still have the {} brackets around them. Note that on the template, there is no data for tracking, but this will populate the resulting delivery note.
Click the "x" to close
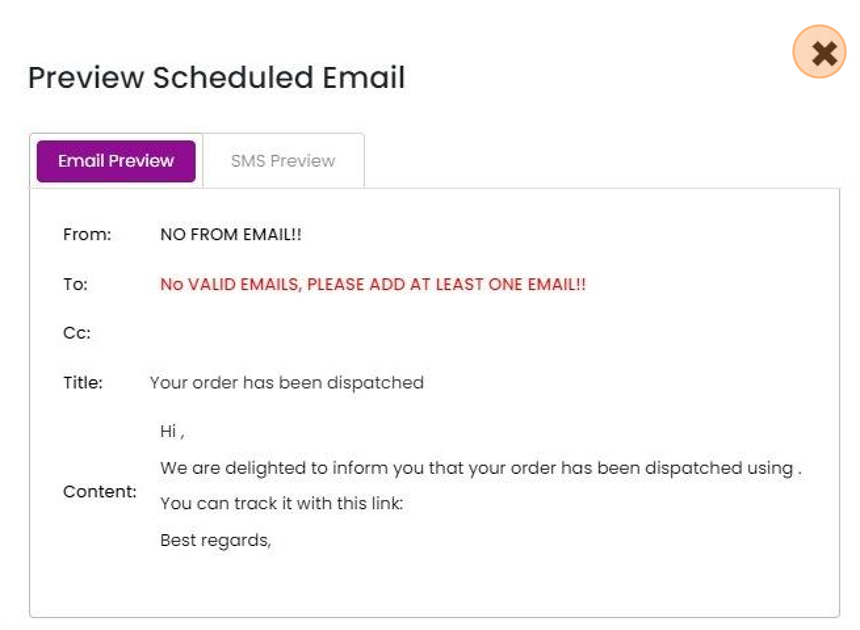
Click "×"
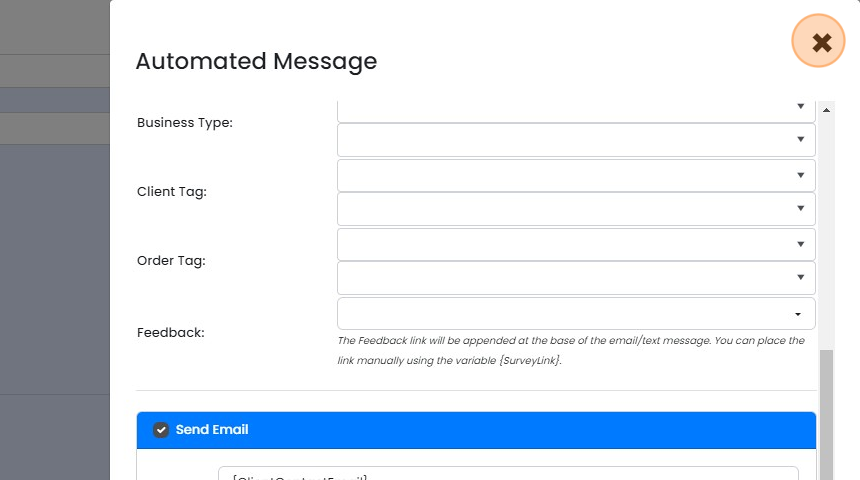
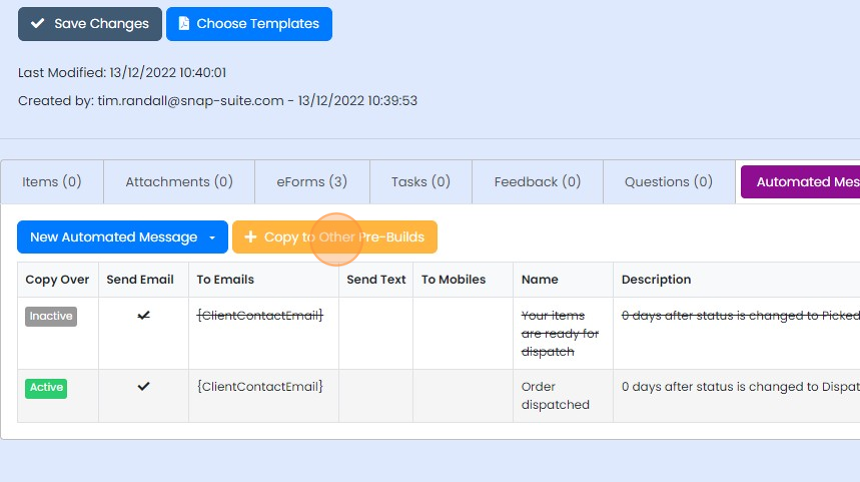
The message can be easily copied to other delivery note pre-builds using the "Copy to Other Pre-Builds" button
Learn more: workflows and automations


When the supplier enters the tracking details of the order and sets it to "Dispatched", the PO will move to "Supplier Dispatched". This email can automatically notify your customer of this and the tracking details.
If you want to send an item list at the same time, create a delivery note from the PO and send it from there instead.
Open the purchase order pre-build
Frequently asked questions
Was this helpful?