Get paid

Create a customer return

In ZigaflowMomentum plan

The short answer

To create a customer return without a job or sales order, click Go To, then Customer Returns, then New, and select the customer. Add client assets or items, set the stock location, then set the status to Received to book the items into stock.

Steps

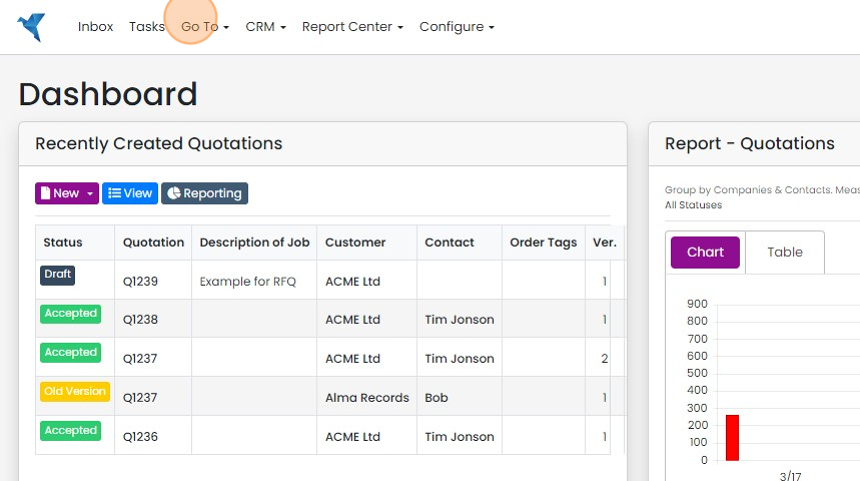
  1. Click "Go To"

    Zigaflow Dashboard with the Go To menu highlighted in the top navigation bar, above the Recently Created Quotations list
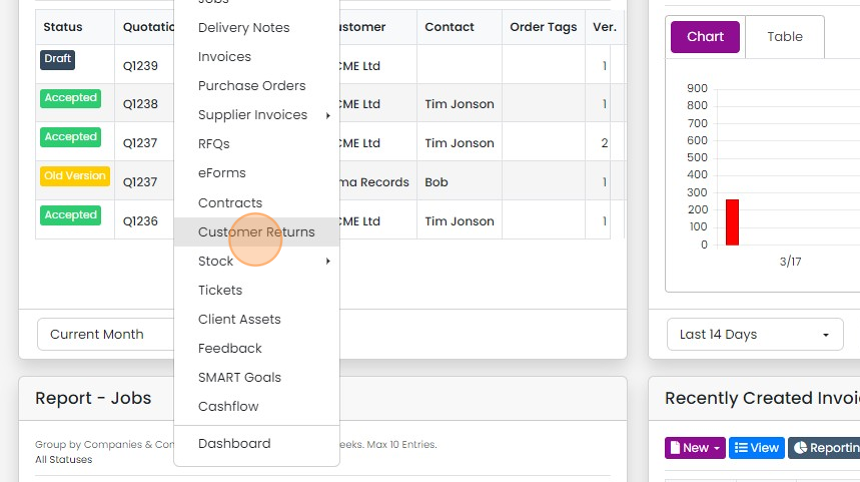
  2. Click "Customer Returns"

    Navigation dropdown menu over the dashboard with Customer Returns highlighted between Contracts and Stock
  3. Click "New"

    Customer Returns board with Draft and Sent columns, the purple New button highlighted at the top of the left panel
  4. Select the customer

    Add client assets
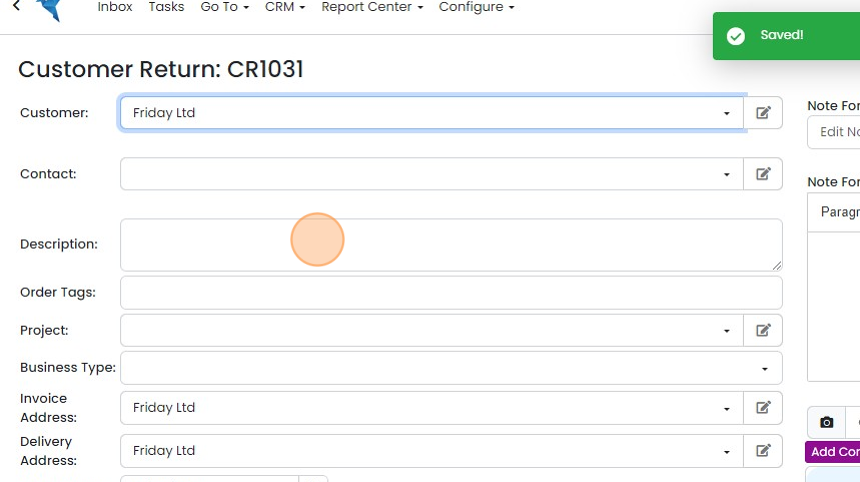
    Customer Return form with a customer selected in the Customer field and a green Saved confirmation at the top right
  5. To return an item that is in their client asset list (it must have a serial number), click "Add Client Assets"
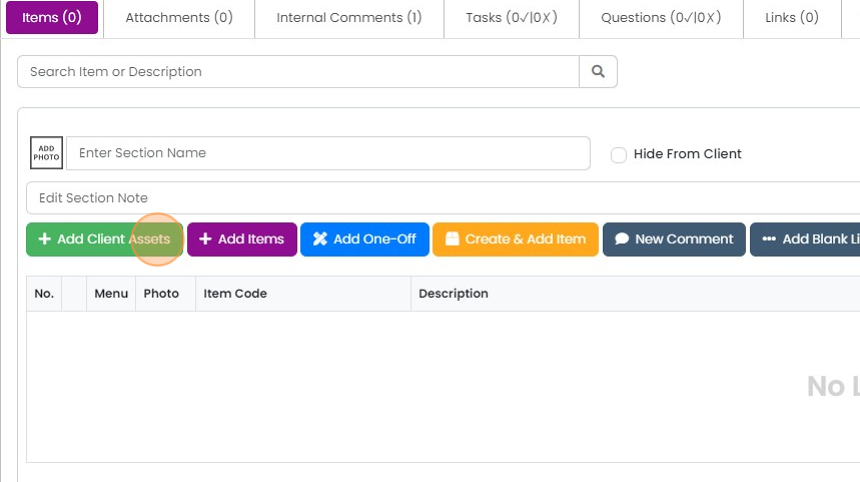
    Items tab of a customer return with the green Add Client Assets button highlighted above the empty line items table
  6. Click "Add" on the desired item

    Asset list with On-Site items and Live Contracts column, the Add button highlighted on the first item's row
  7. Click "×"

    Add items without serial numbers
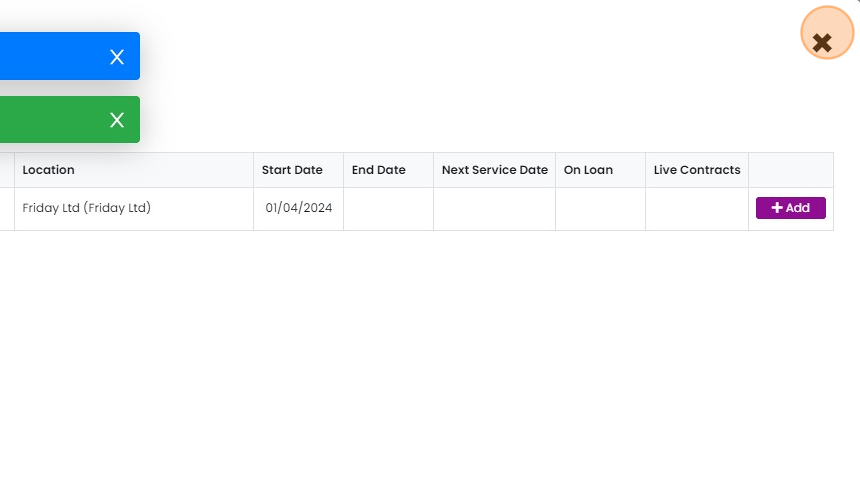
    Asset list with Location, Start Date and Live Contracts columns, close × button highlighted in the top-right corner
  8. For items that do not have a serial number, click "Add Items"
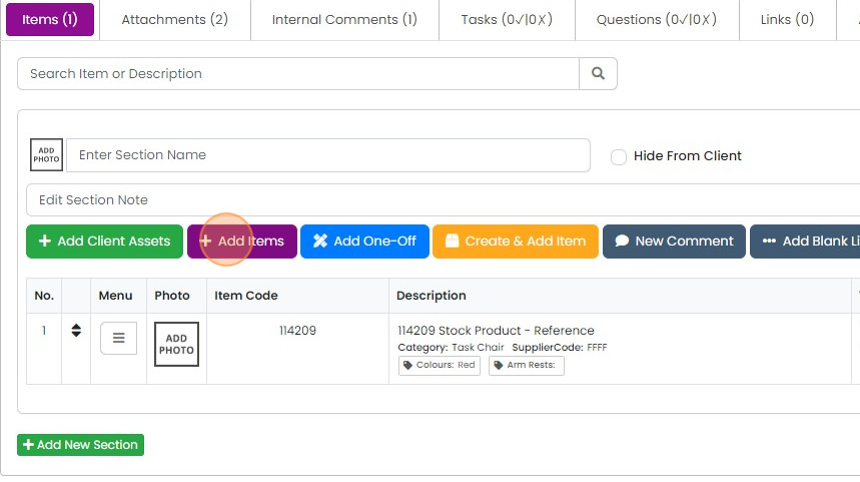
    Items tab section with the purple Add Items button highlighted, next to Add Client Assets and Add One-Off buttons
  9. Enter the quantity

    Item list with quantity field set to 10 highlighted beside the purple Add button, entering quantity for a customer return
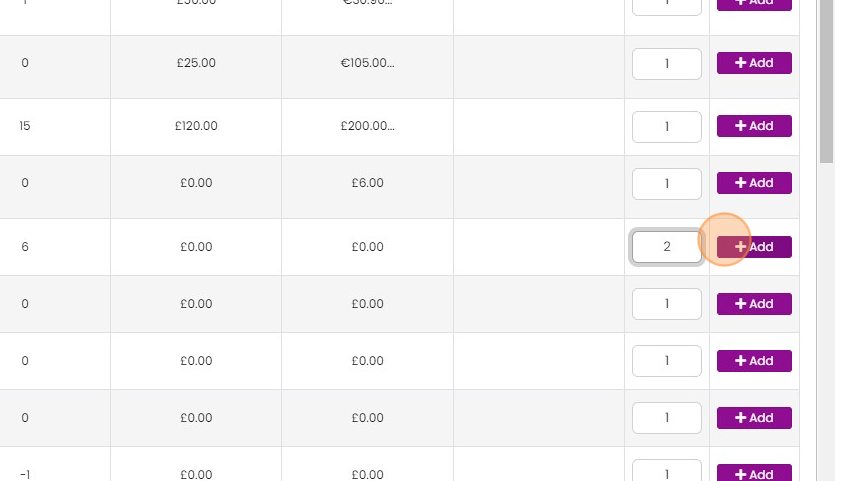
  10. Click "Add"

    Product list with quantity set to 2 on one row and its purple Add button highlighted to add the item to the customer return
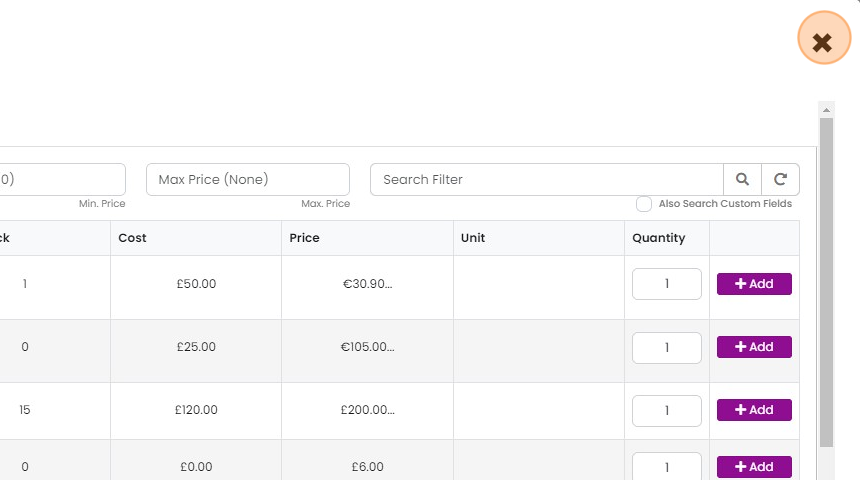
  11. Click "×"

    Set the return location

    Product search window with Cost, Price, Quantity and Add columns, with the close
  12. To quickly set the return location, click "Apply"
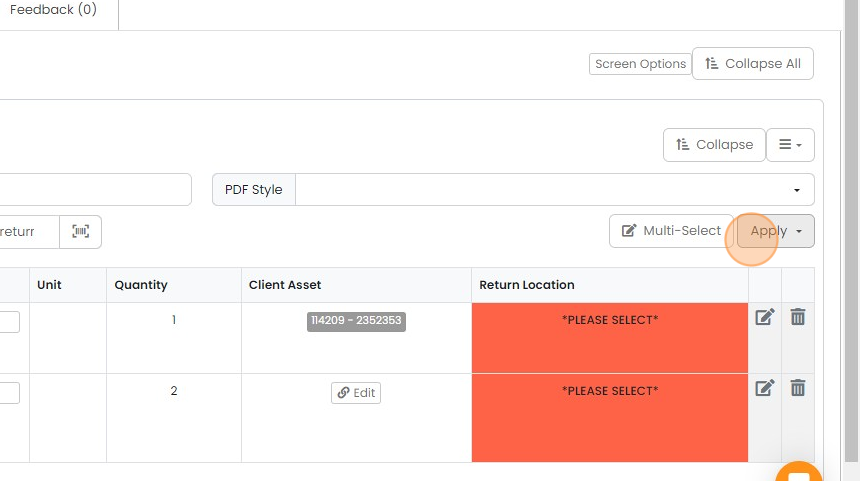
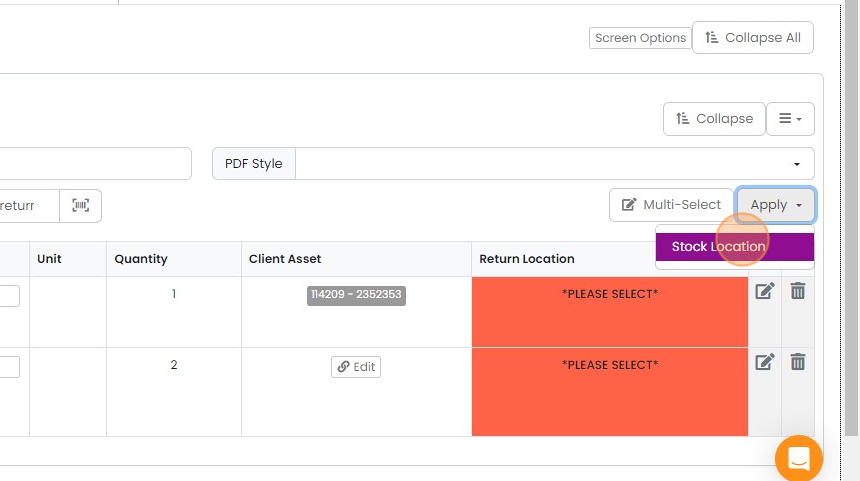
    Customer return items table with Return Location set to *PLEASE SELECT* and the Apply dropdown button highlighted
  13. Click "Stock Location"

    Customer return item list with the Apply dropdown open and the Stock Location option highlighted to set return locations
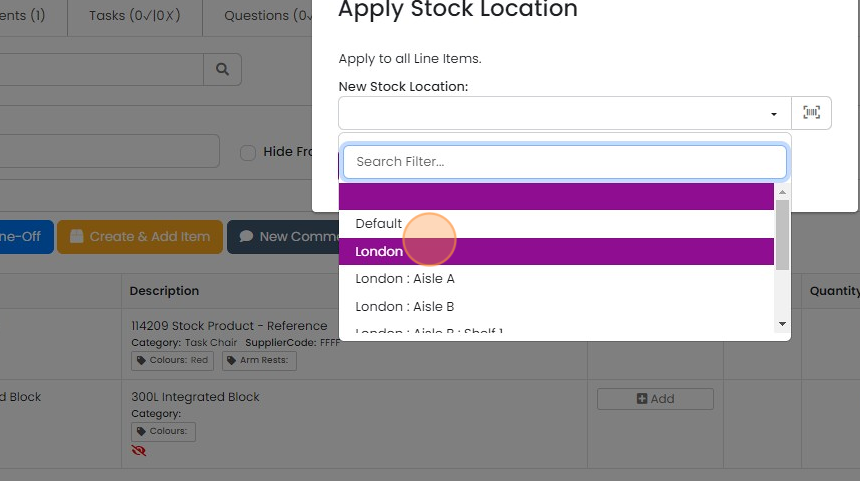
  14. Select the location

    Apply Stock Location dialog with the New Stock Location dropdown open and the London option highlighted for selection
  15. Click "Apply Stock Location"

    Book the items into stock
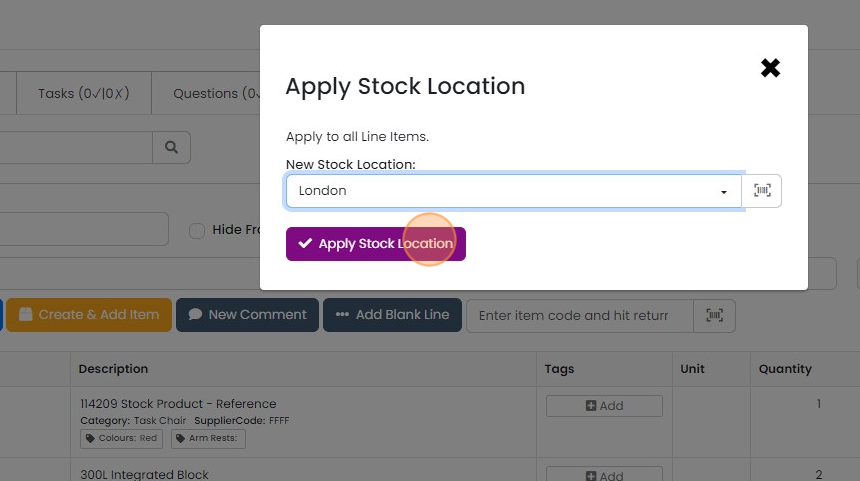
    Apply Stock Location dialog with London selected as New Stock Location and the Apply Stock Location button highlighted
  16. Set the status to " Received"

    This books all the items into the inventory/stock

    Learn more: stock management in Zigaflow
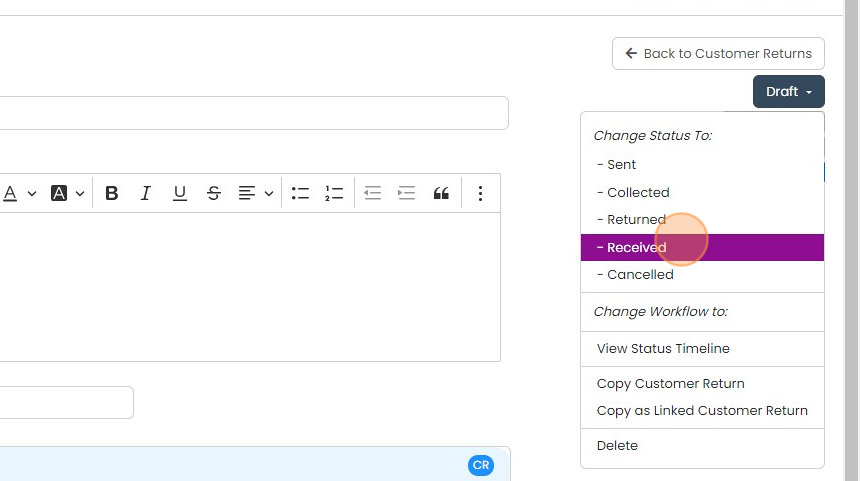
    Customer Return Draft status menu open with Received highlighted under Change Status To, booking items into stock

Always create the return from the Job/Sales Order for the best tracing. However, if you do not have one, as it was not processed initially in Zigaflow, use this method.

Start a new customer return

Frequently asked questions

Next step

Create a credit noteEssentials, Go and Momentum plansTo create a credit note in Zigaflow, open the invoice you want to credit, click Multi-Select, choose the items to credit, click Create Credit Note, and select the pre-build. You can credit part or all of an invoice. To export it to Xero or QuickBooks, set its status to anything other than Draft or Cancelled.

Was this helpful?

See Zigaflow on your own workflow

Book a demo and we will walk through quoting, jobs and purchasing the way your team runs them.

Or see how Zigaflow would fit your business, free