Import invoices from a spreadsheet
The short answer
To import invoices from a spreadsheet, click the Cog, then Import Center, then Invoices, and download the template. Fill it in with a complete row for each item, drag the file in and click Upload. A banner shows whether the import succeeded or failed. The customer must already be in Zigaflow.
Steps
Click on the Cog

Click "Import Center"
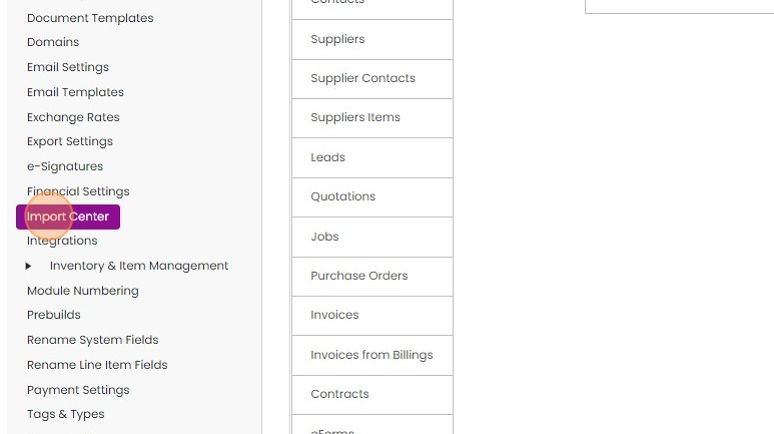
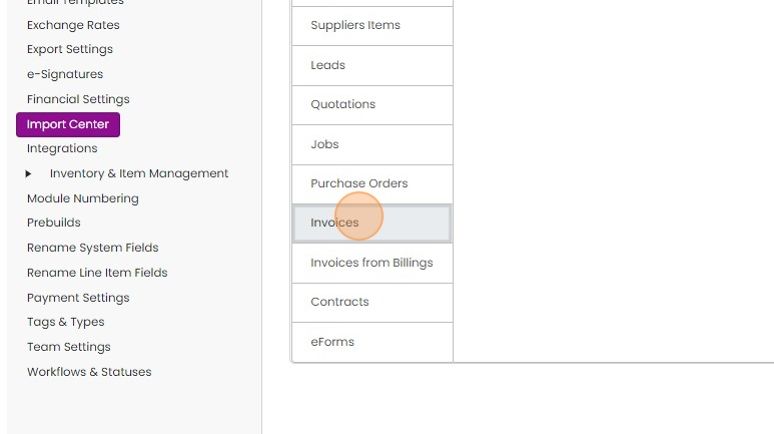
Click "Invoices"
Click "Download Template" for the template spreadsheet
Fill in the template
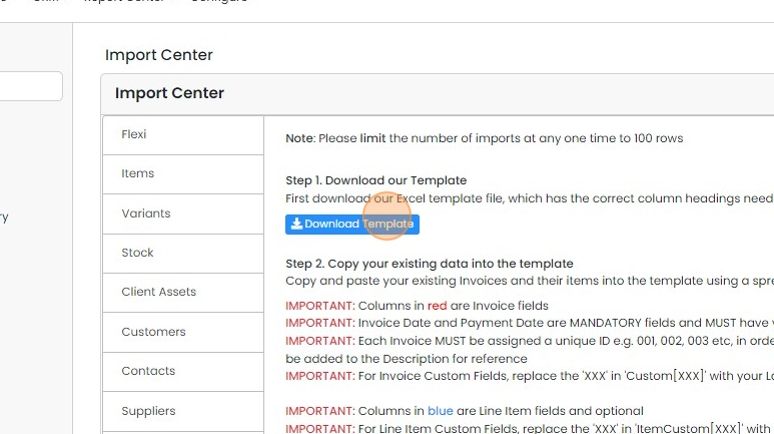
More than one invoice can be imported at a time
The template consists of three areas: header, section name, and item details.

For each item in an invoice, there needs to be a complete row
For each item in an invoice, there needs to be a complete row. This means that the master invoice details, such as the customer name or note, need to be repeated on each line. Similarly, the section name (if given) needs to be repeated for all the items in the section.
Upload the file

Drag and drop the file here

Click "Upload"
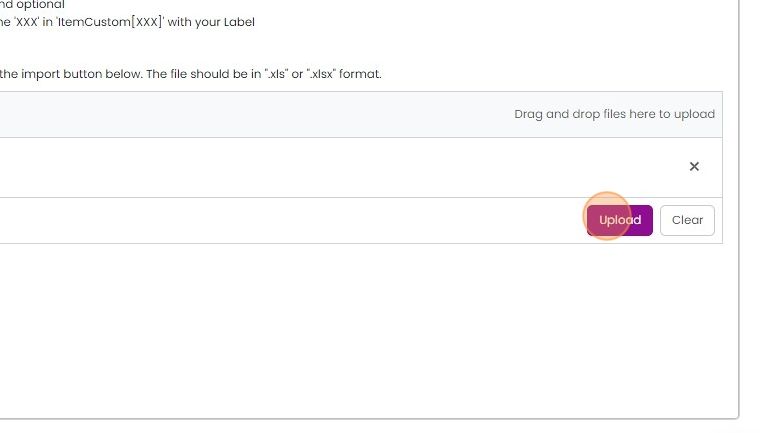
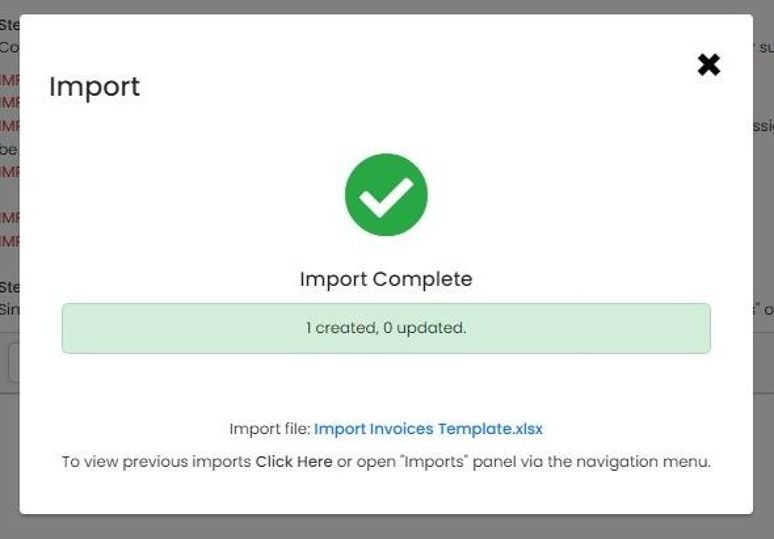
The banner shows the success or failure of the import
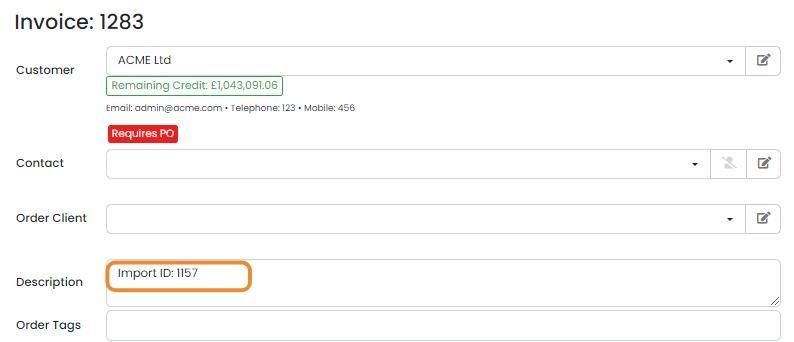
The original ID/Reference from the previous system is appended to the descriptio
Learn more: invoices in Zigaflow


Before you import
Before importing, the customer/company and contact at the company (if set in the import) need to be in Zigaflow. Otherwise, the import will fail.
These columns are compulsory in the import file:
- ID - this is just the reference from the previous system, such as the quote number
- Status (the Zigaflow status)
- Company
- Assigned User Email - the user the quote will be assigned to in Zigaflow
- Initial Assigned User Email - the initial user the quote will be assigned to in Zigaflow
- Invoice Date
- Payment Date
Download the template
Frequently asked questions
Was this helpful?