Get set up

Bulk importing attachments onto items

In Zigaflow

The short answer

Bulk import attachments onto items in Zigaflow by matching the filename exactly to the item name, by listing the filenames to import on each item, or by using a file whose name matches the first characters of item names. Start the import from the Cog, then Items, then Attachments, and drag the files in.

Steps

  1. Populate the filename(s) to import on each item

    Populate the filename(s) to import on each item. For multiple files, separate with a comma. In this example, the attachment to add to this item is "AX45-3 Spec Sheet.pdf" (the file extension is ignored).

    If you are importing to more than a couple of items, we recommend exporting the items to Excel, populating this field, and then importing using the Flexi-Import -> Items
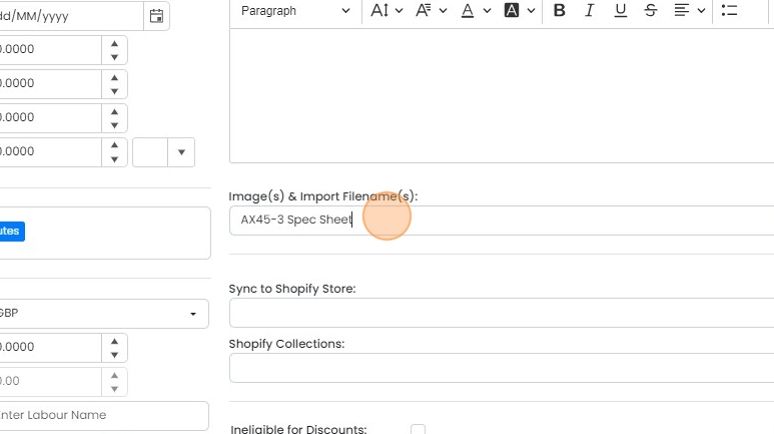
    Item form with
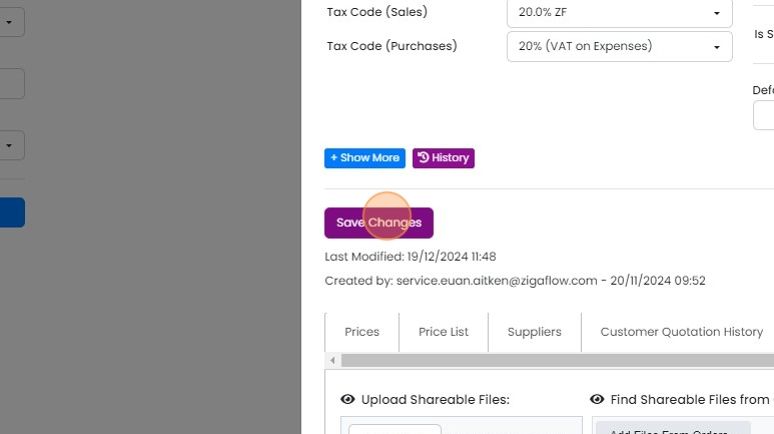
  2. Click "Save Changes"

    Item edit panel with tax code fields above, Save Changes button highlighted and Prices, Suppliers tabs below
  3. To start the import process, click on the Cog
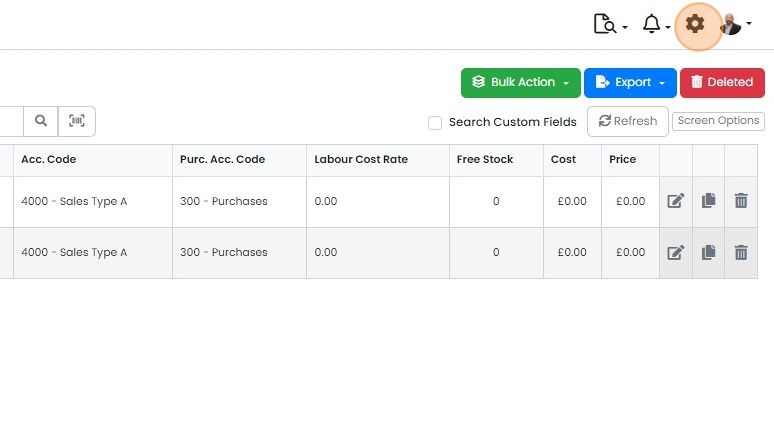
    Items list in Zigaflow with the settings cog icon highlighted in the top-right toolbar, next to the notifications bell
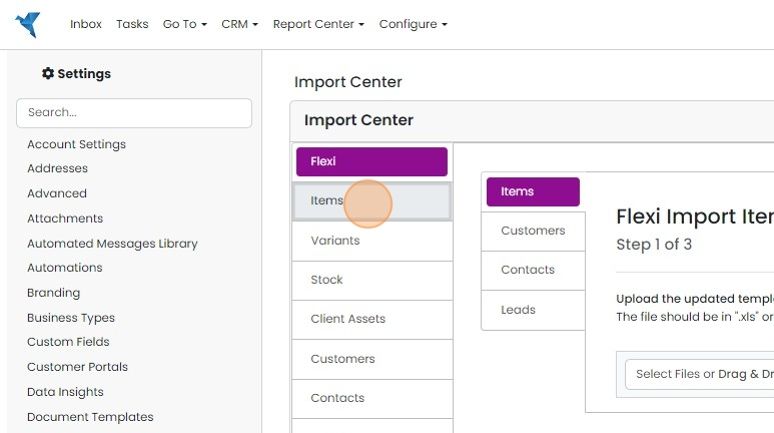
  4. Click "Items"

    Import Center under Settings with the Flexi tab open and the Items option highlighted in the left-hand import list
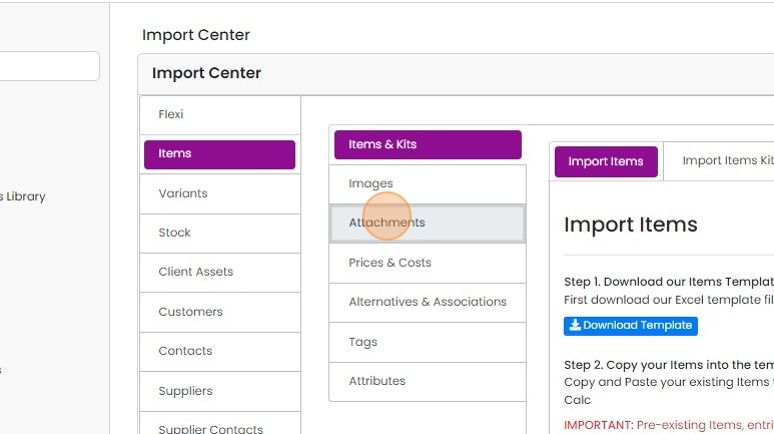
  5. Click "Attachments"

    Import Center with Items selected in the left menu and the Attachments option highlighted under Items & Kits
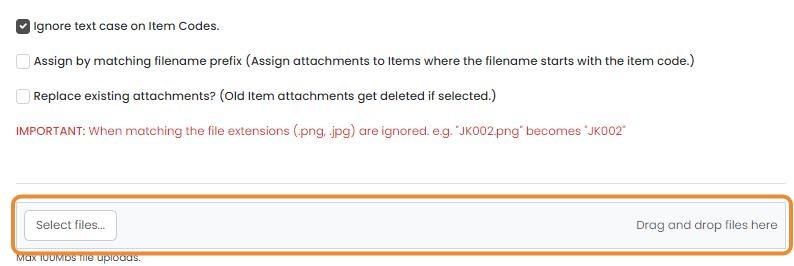
  6. Drag and drop the files onto here

    Item attachment import options with the Select files and Drag and drop files here upload area highlighted in orange
  7. The success of the import is shown here
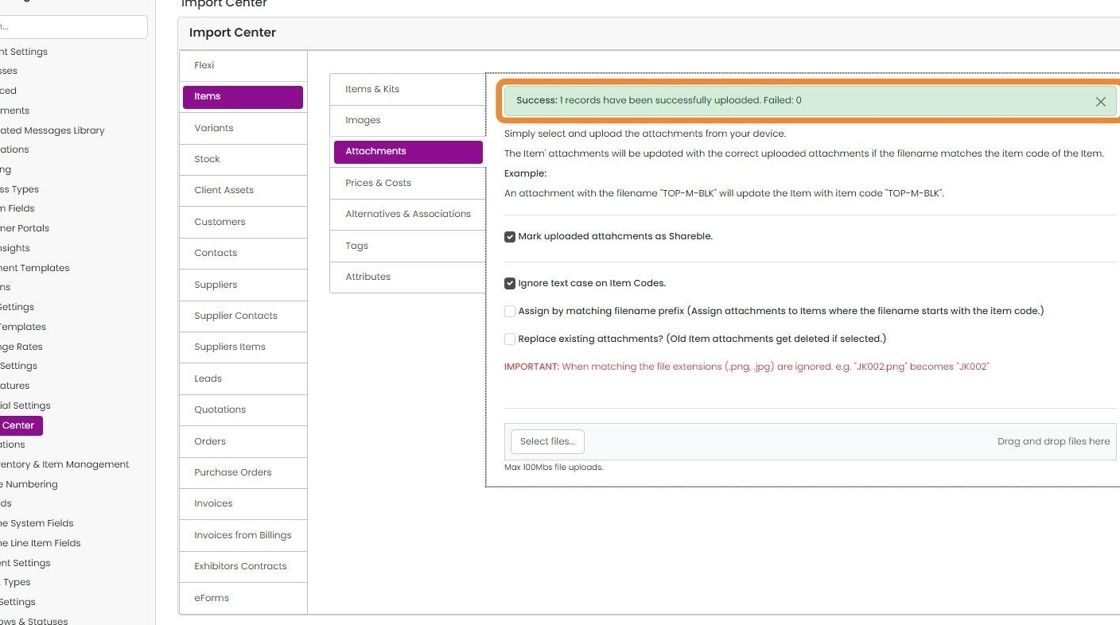
    Import Center Items > Attachments tab with the success message

There are three ways to import attachments in bulk:

-Making sure that the filename exactly matches the name of the item

-Specifying the filename(s) to be imported on each item

-Importing a file that has a name that matches the first characters of some items

Using the Exact Filename

1. To start the import process, click on the Cog

Items list with the Settings cog icon highlighted in the top-right toolbar, next to notifications and the user avatar

2. Click "Items"

Import Center under Settings with the Flexi tab open and the Items option highlighted in the left import menu

3. Click "Attachments"

Import Center with Items selected on the left and the Attachments option highlighted in the Items & Kits submenu

4. Drag and drop the files onto here

Item attachment import options with the file upload area highlighted, showing Select files button and Drag and drop files here

5. The success of the import is shown here

Import Center Items Attachments tab with the green success message highlighted: 1 record uploaded, 0 failed

Specifying the Filename

Matching Against the Items' First Characters

1. To import using import file(s) with the same name as the starting characters of items, click here.

For example, a file with the name "AX45.pdf" will update all the items starting with AX45, i.e. AX45-3BG and AX45-3RC will both have this file attached.

Items Attachments import tab with the

2. Drag and drop files here.

Attachments tab of the item import with the Select files button and Drag and drop files here upload area highlighted

Frequently asked questions

Next step

Bulk importing images onto itemsBulk import images onto items in Zigaflow by clicking the Cog, then Import Center, Items, and Images, and dragging the image files in. Images can match the item name exactly, match the first characters of item names, or use filenames entered on each item. A banner then shows successes and failures.

Was this helpful?

See Zigaflow on your own workflow

Book a demo and we will walk through quoting, jobs and purchasing the way your team runs them.

Or see how Zigaflow would fit your business, free