Make it yours

Exporting emails to Mailchimp

In Zigaflow

The short answer

To export emails to Mailchimp, go to CRM, then Contacts, and filter or search for the contacts you want. Click Email Marketing, select the emails, click Next, choose the Mailchimp audience and any tags, then click Export to Mailchimp and Close. This suits larger bulk email campaigns.

Steps

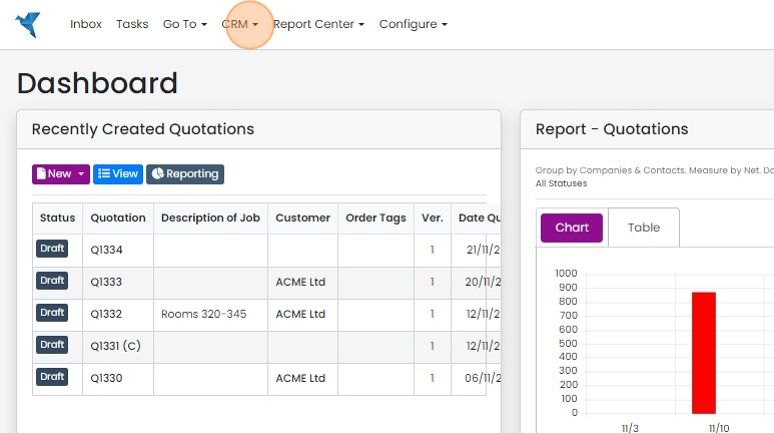
  1. Click "CRM"

    Zigaflow Dashboard with the CRM dropdown in the top navigation bar highlighted, above the Recently Created Quotations panel
  2. Click "Contacts"

    CRM menu open on the Dashboard with Contacts highlighted above Customers, Suppliers and Supplier Contacts
  3. Contacts can be filtered first on this screen using the filters to the left or the search box

    Select the emails to export
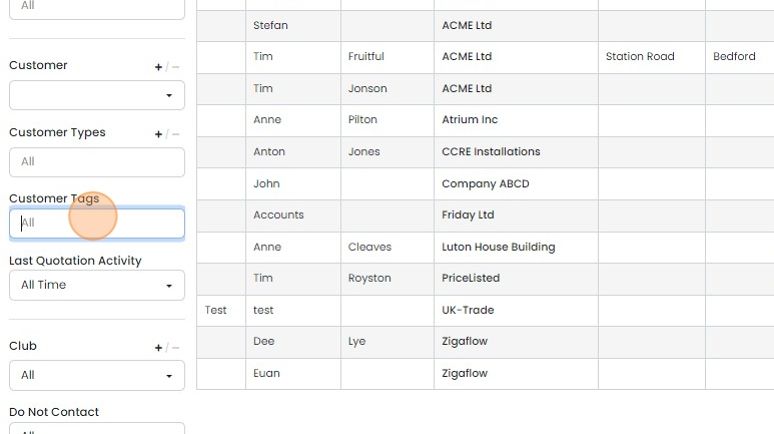
    Contacts list filter panel with the Customer Tags field highlighted, alongside Customer, Customer Types and Club filters
  4. Click "Email Marketing". If this is not visible, go to the Cog -> Integrations and connect to MailChimp

    Contacts list toolbar with the blue Email Marketing button highlighted between Bulk Action and Deleted buttons
  5. It is possible to filter again using the filters on the left of the pop-up screen
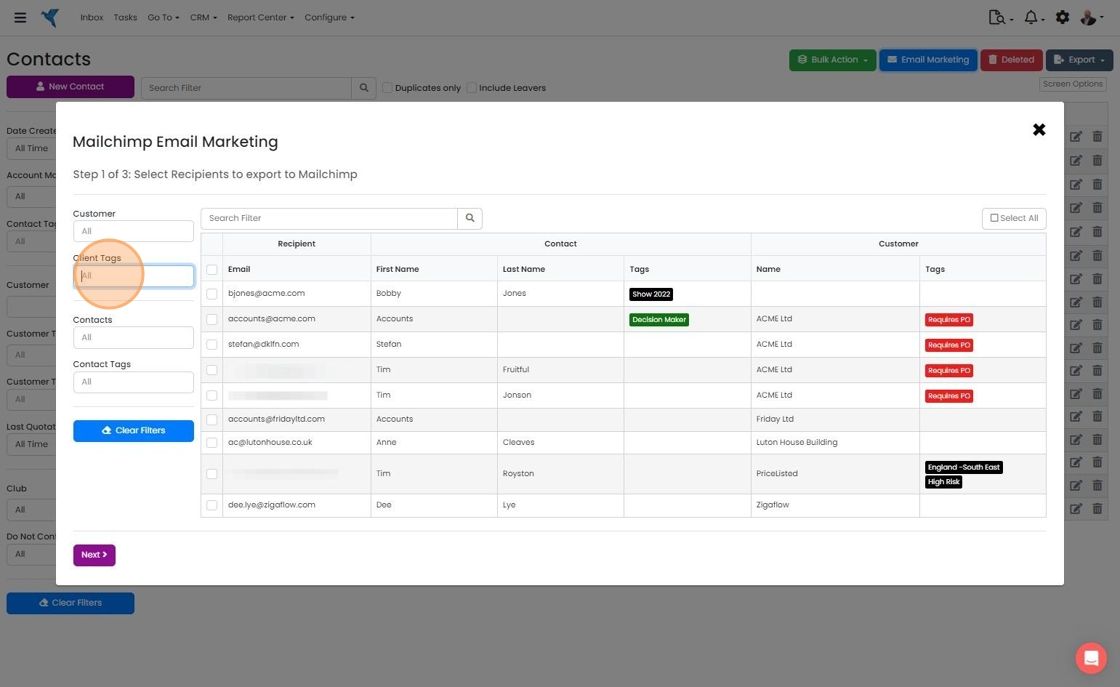
    Mailchimp Email Marketing pop-up, step 1 of 3, with the Client Tags filter highlighted among the left-hand recipient filters
  6. Select the email(s) to push to MailChimp

    Choose an audience and export

    Email list row with its checkbox selected, marking an address labeled Accounts for export to MailChimp
  7. Click "Next" to select the audience to push to
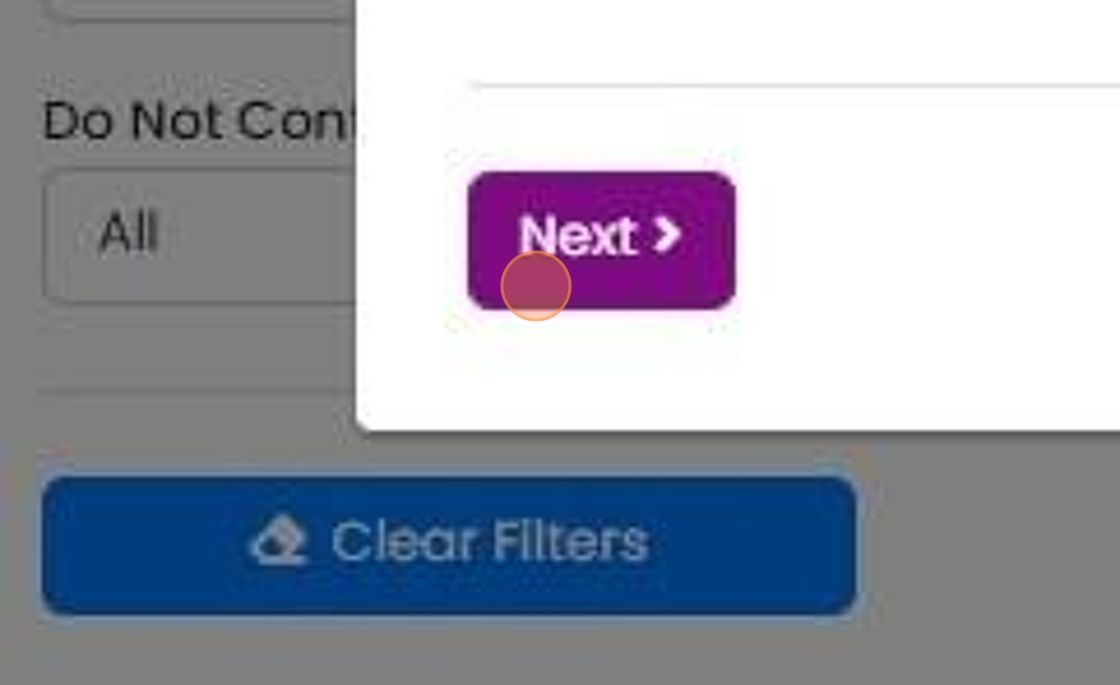
    Mailchimp export pop-up over the contact filters panel, with the purple Next button highlighted to continue to audience selection
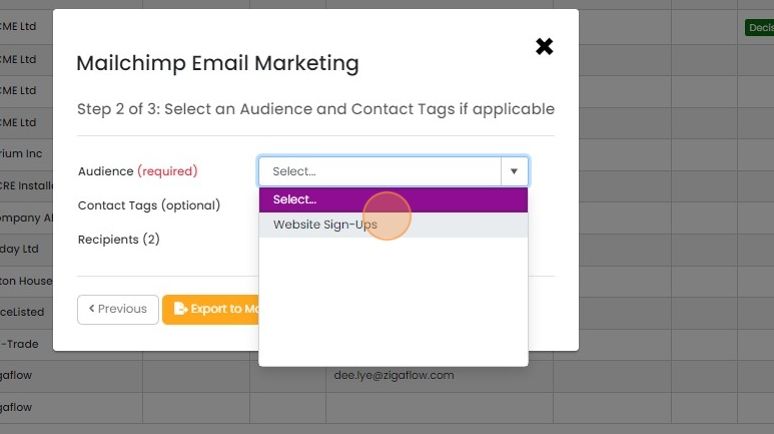
  8. Select the MailChimp audience

    Mailchimp Email Marketing step 2 of 3 with the Audience dropdown open and the Website Sign-Ups option highlighted
  9. Select the desired MailChimp tag(s)

    Mailchimp Email Marketing step 2 of 3 dialog with the Newsletter checkbox highlighted under Contact Tags (optional)
  10. Click "Export to Mailchimp"

    Mailchimp Email Marketing step 2 of 3 dialog with Newsletter tag selected and the Export to Mailchimp button highlighted
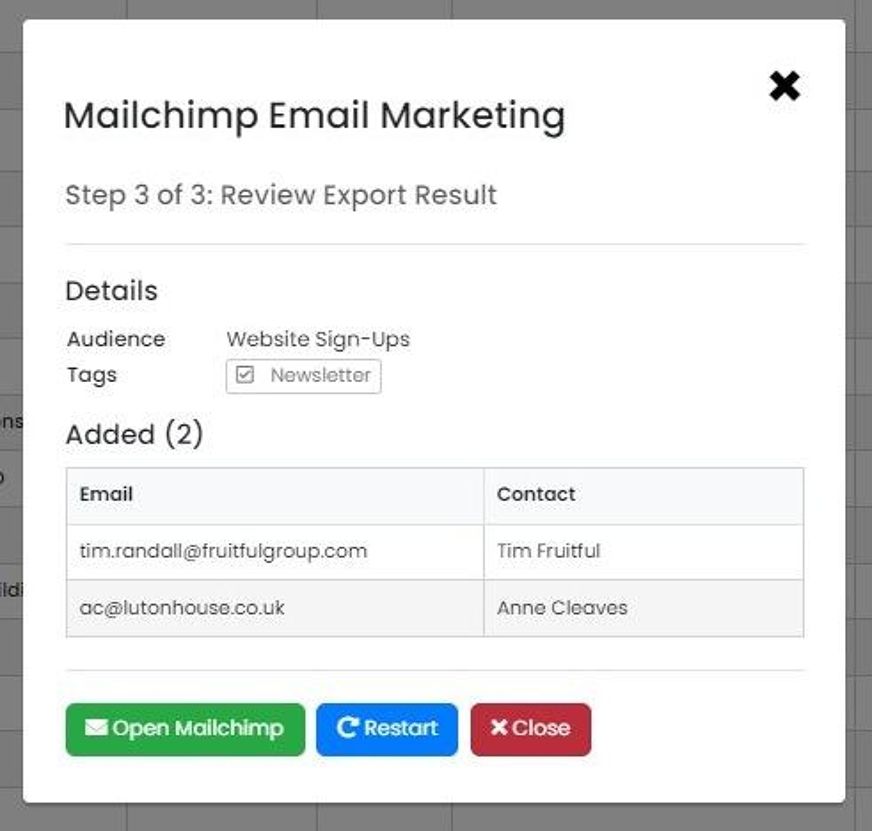
  11. Click "Close"

    Mailchimp Email Marketing Step 3 of 3: Review Export Result showing 2 added contacts and the red Close button

Find and filter your contacts

Frequently asked questions

Next step

Connecting to MailchimpTo connect Zigaflow to Mailchimp, an Admin user clicks the Cog, then the Mailchimp "Connect" button, enters their Mailchimp email and password, and clicks "Allow". The connection lets you email large numbers of contacts. To disconnect later, use the "Revoke" button.

Was this helpful?

See Zigaflow on your own workflow

Book a demo and we will walk through quoting, jobs and purchasing the way your team runs them.

Or see how Zigaflow would fit your business, free