Set up Shopify
The short answer
To set up Shopify, create your Shopify store, send Zigaflow the internal Shopify URL so an app can be created, then install the app from the Cog, then Integrations. In Settings, choose whether to sync products and stock, set the pre-build for orders, and set the Payments Bank Account in Financial Settings.
Steps
Set up your Shopify store. You don't need to add any products, as they can be pushed from Zigaflow
Let us know the internal Shopify URL. We will create an "app" and let you know when it is ready
Install the Shopify app
Click on the Cog
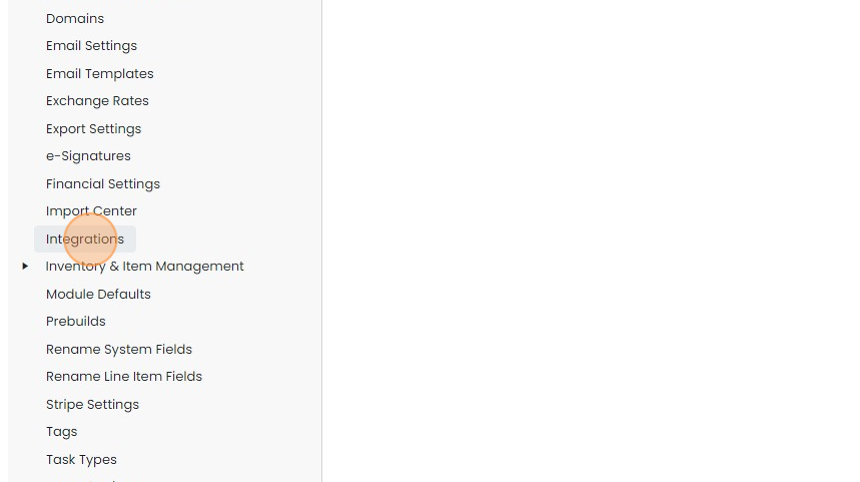
Click "Integrations"
Click to install the app
Configure sync and order settings
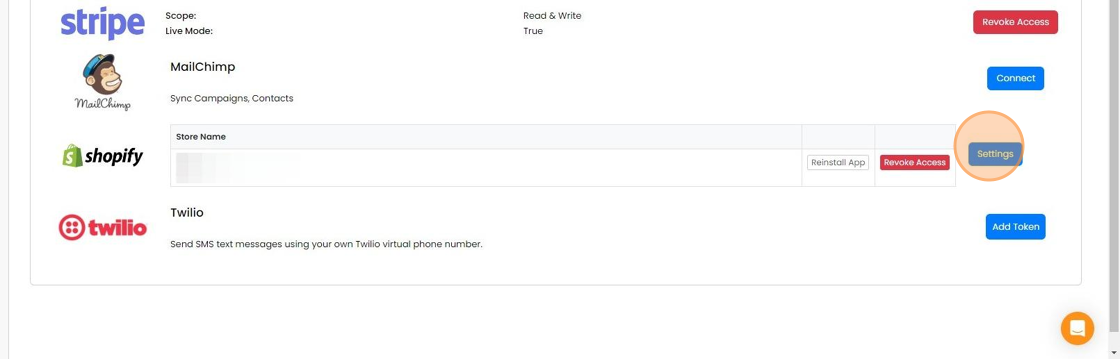
Click "Settings"
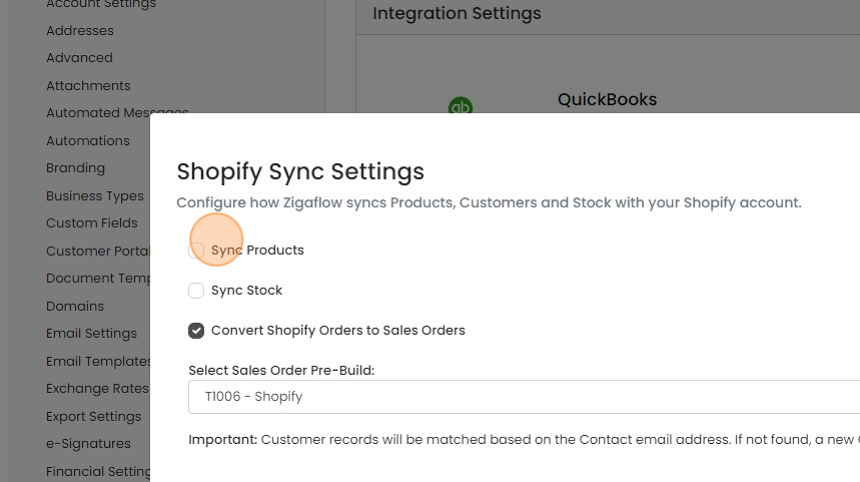
Click "Sync Products" so that items are published to Shopify when they are updated. This is optional
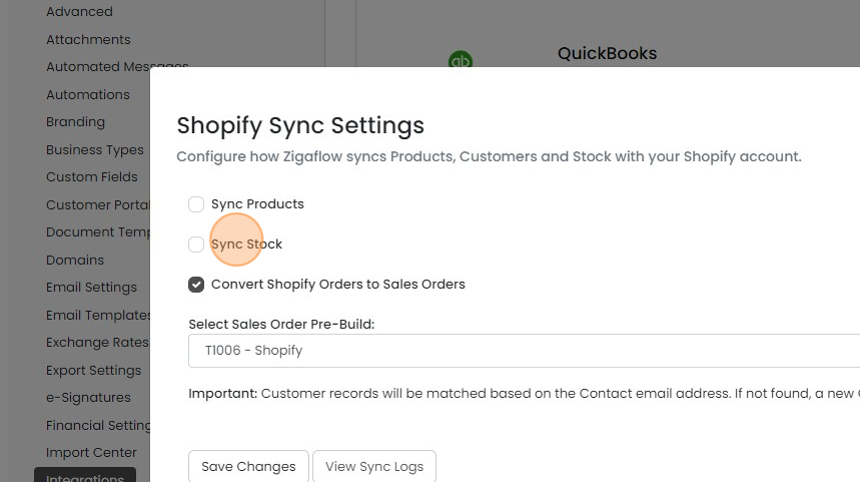
Click "Sync Stock" to have Zigaflow update the stock on Shopify when there are changes in Zigaflow's stock
Click "Sync Stock" to have Zigaflow update the stock on Shopify when there are changes in Zigaflow's stock. This is optional
Set the pre-build to be used for Shopify orders and set it "Convert..." to automatically process Shopify...
Set the pre-build to be used for Shopify orders and set it "Convert..." to automatically process Shopify orders in Zigaflow
Set the payments bank account

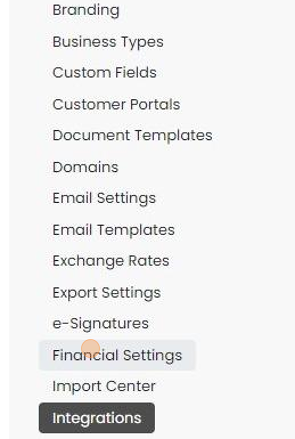
Click "Financial Settings"
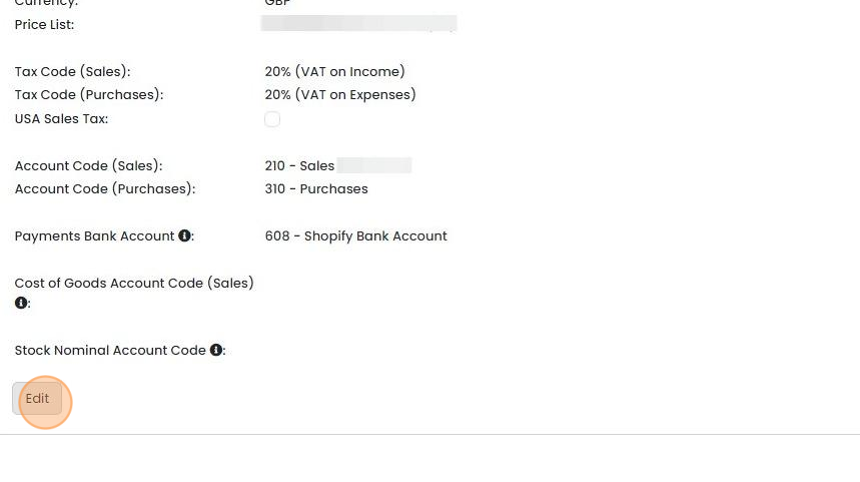
Click "Edit"
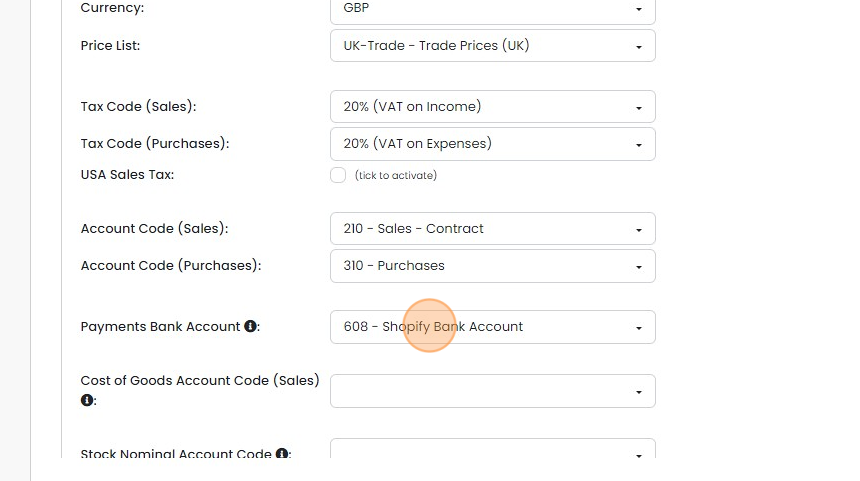
Set the Payments Bank Account
Set the Payments Bank Account. If none are available, scroll up and import bank accounts from Xero. This is so that Zigaflow can push a payment equal to the value of the Shopify invoice (which will have been paid on Shopify), marking the invoice as "Paid" in both Zigaflow and Xero/QuickBooks. Shopify fees are separate from this and should be summed separately to add in one amount to a Bank or Shopify fees ledger
Save changes

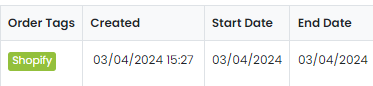
When an order is sent from Shopify, it is automatically tagged with "Shopify"
When an order is sent from Shopify, it is automatically tagged with "Shopify". This will allow you to set up specific automations for these orders.
Learn more: the Shopify integration


Zigaflow allows you to connect to multiple Shopify stores, automatically process orders, and optionally publish your items and inventory positions on Shopify.
Prepare your Shopify store
Frequently asked questions
Was this helpful?