Get set up

Setting up unit prices

In Zigaflow

The short answer

To set up unit prices in Zigaflow, click the cog, choose Inventory & Item Management, open Items (or whatever you renamed them to), then click Units and add a new unit. Next, show the unit columns on the quotation edit screen by adding Product Unit and Price Per Unit.

Steps

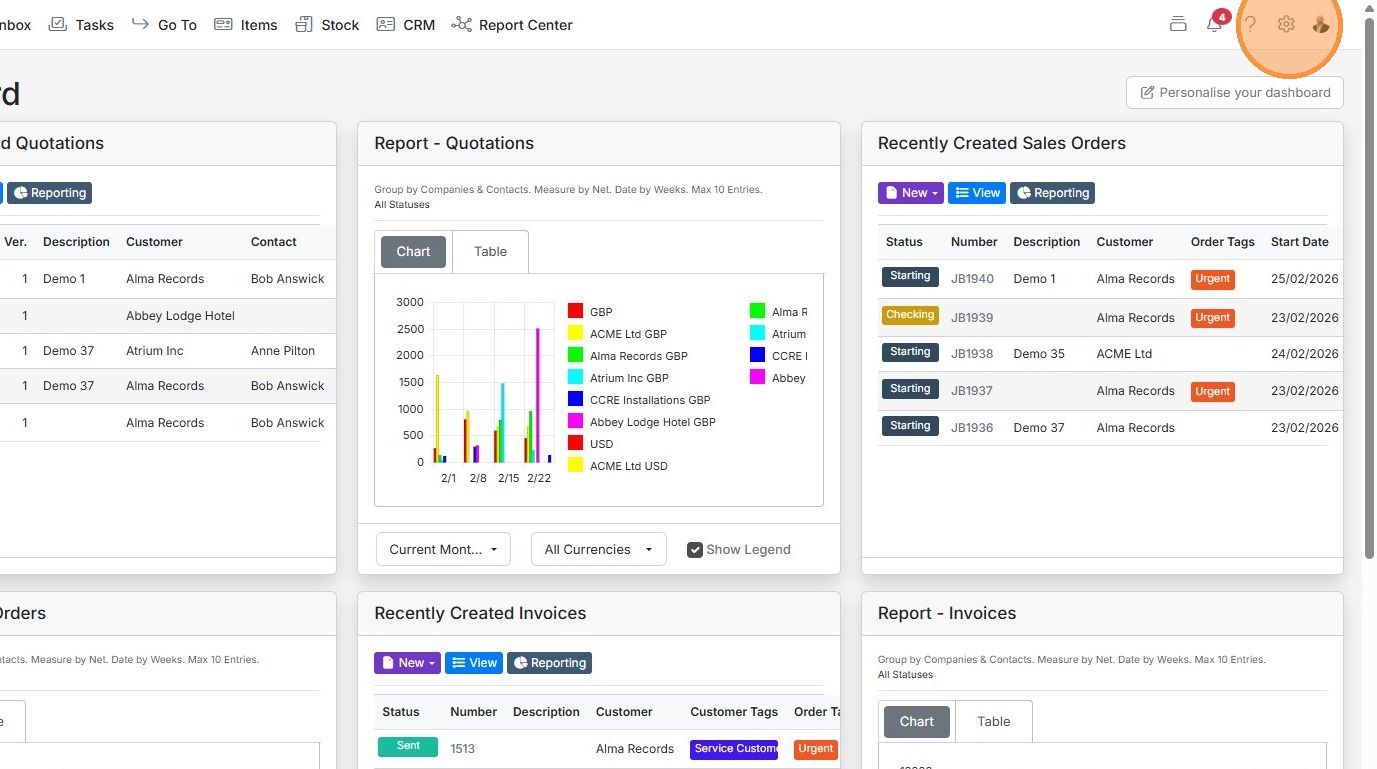
  1. Click on the cog

    Zigaflow dashboard with the settings cog icon highlighted in the top-right toolbar beside the help icon and profile picture
  2. Click "Inventory & Item Management"

    Settings sidebar with
  3. Click "Items" or "Products" or what you have renamed them to
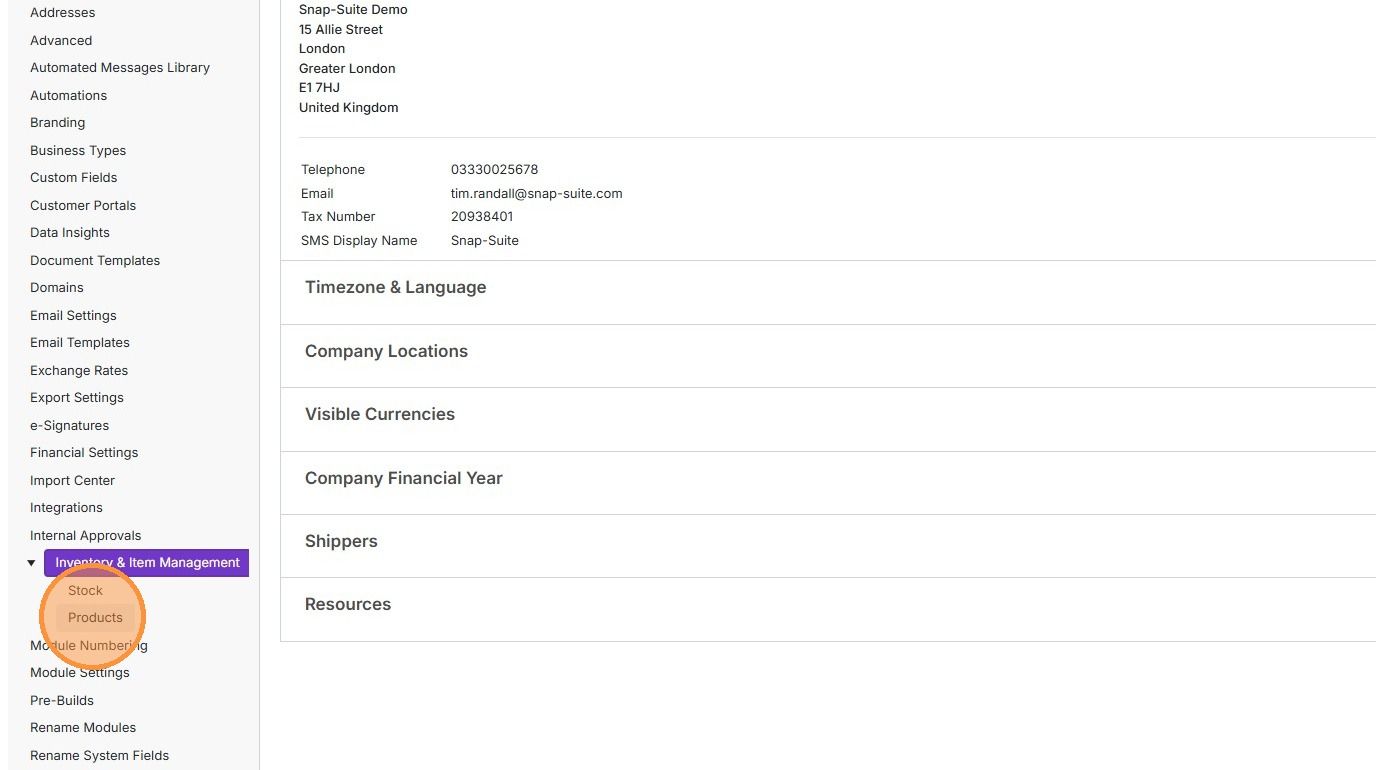
    Settings menu with Inventory & Item Management expanded, the Products option highlighted below Stock in the left sidebar
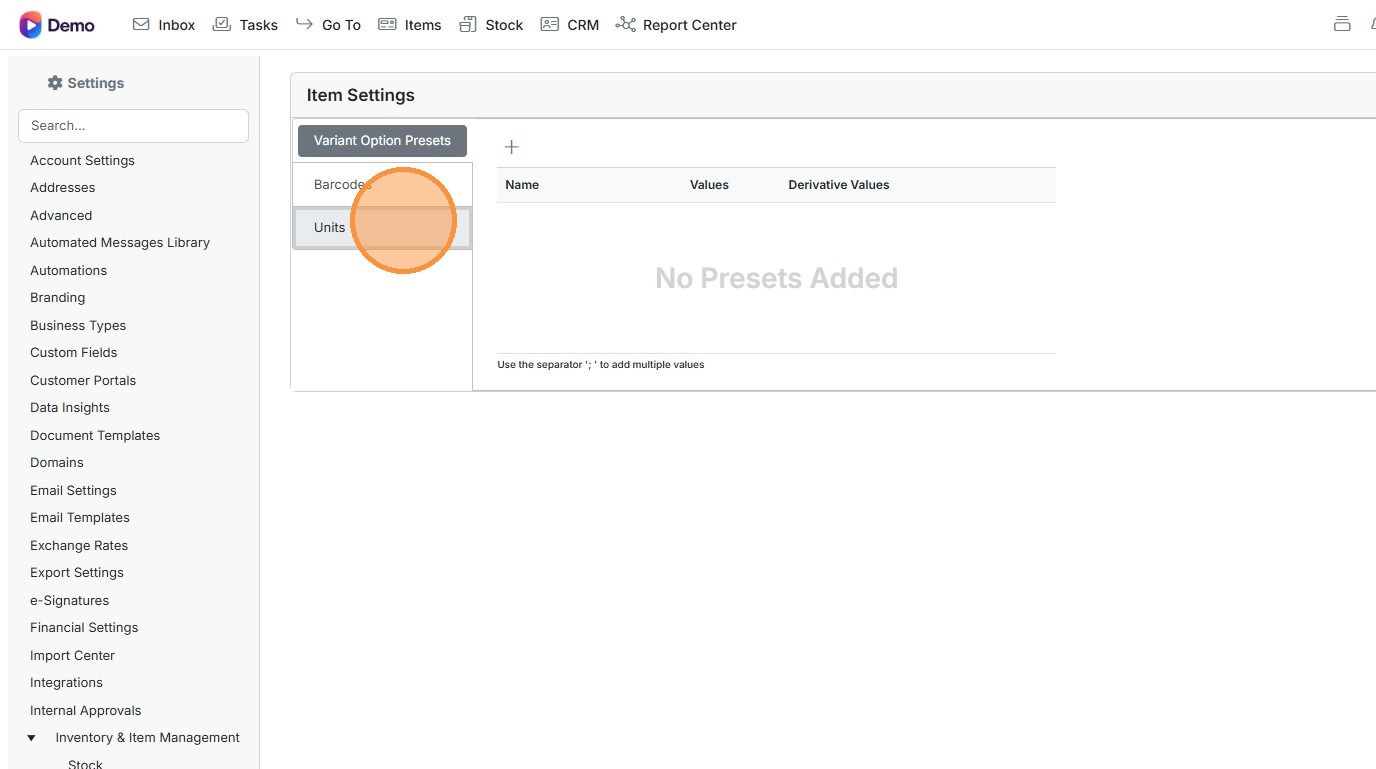
  4. Click "Units"

    Item Settings page with the Units tab highlighted below Variant Option Presets and Barcodes in the left tab list
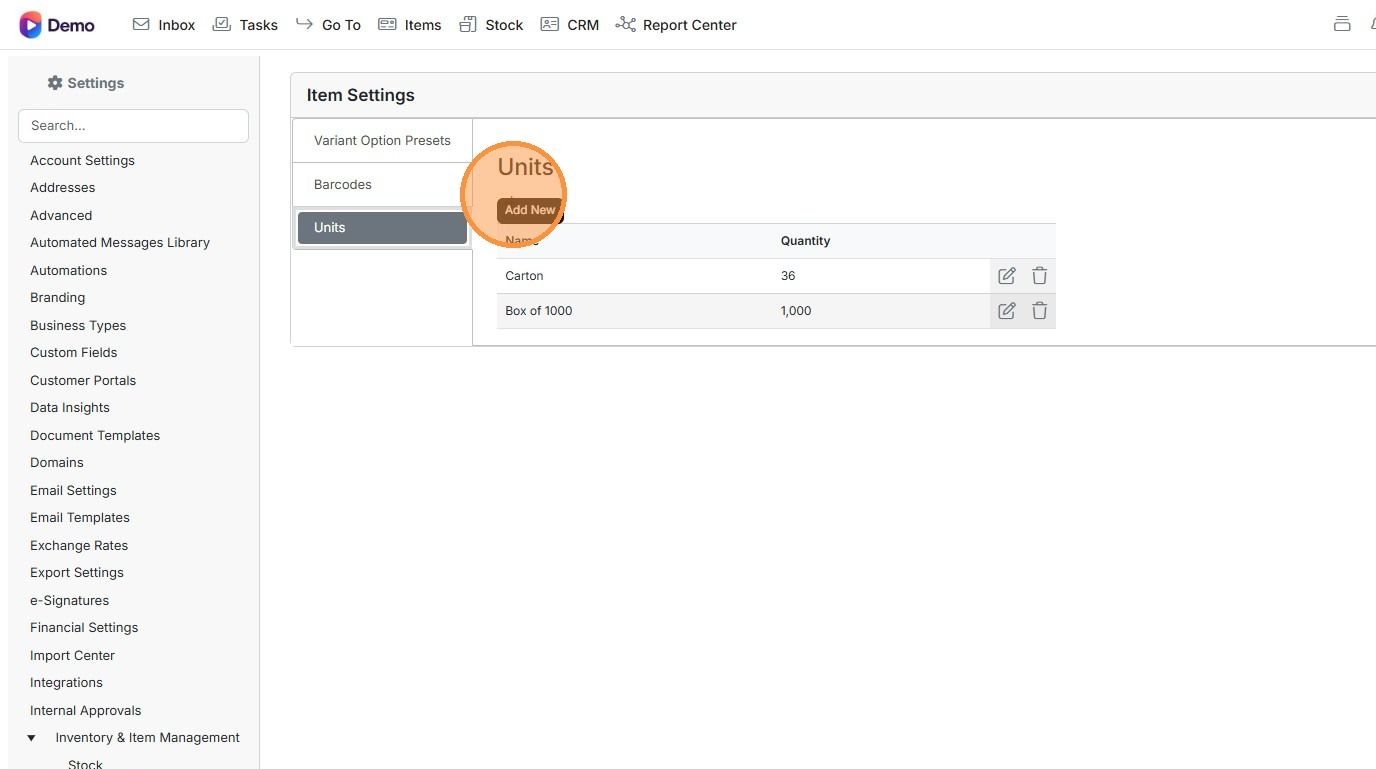
  5. To add a new unit

    Item Settings Units tab with the Add New button highlighted above the list of units such as Carton and Box of 1000
  6. Click here

    Show unit columns on quotations
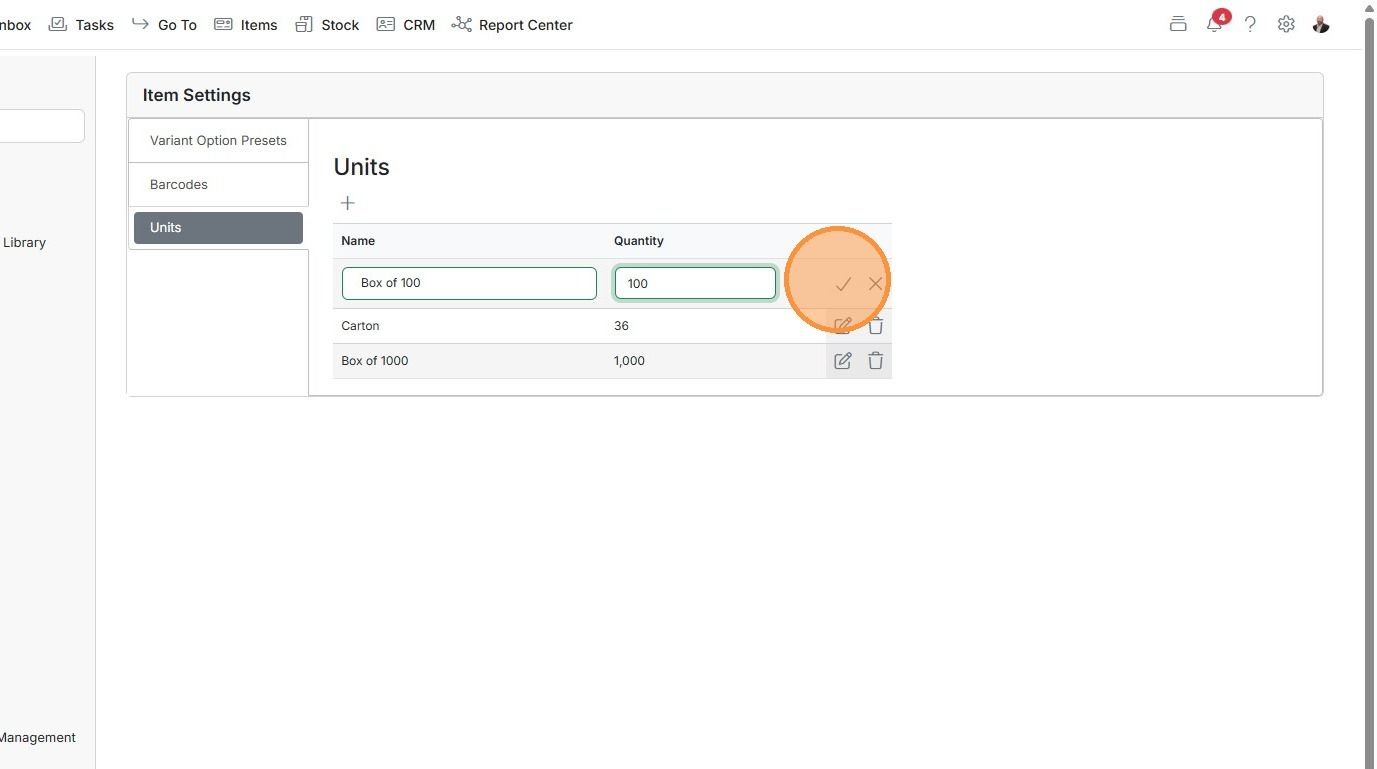
    Item Settings Units tab with new unit
  7. Set this up on the quotation edit screen - Click "Go To"
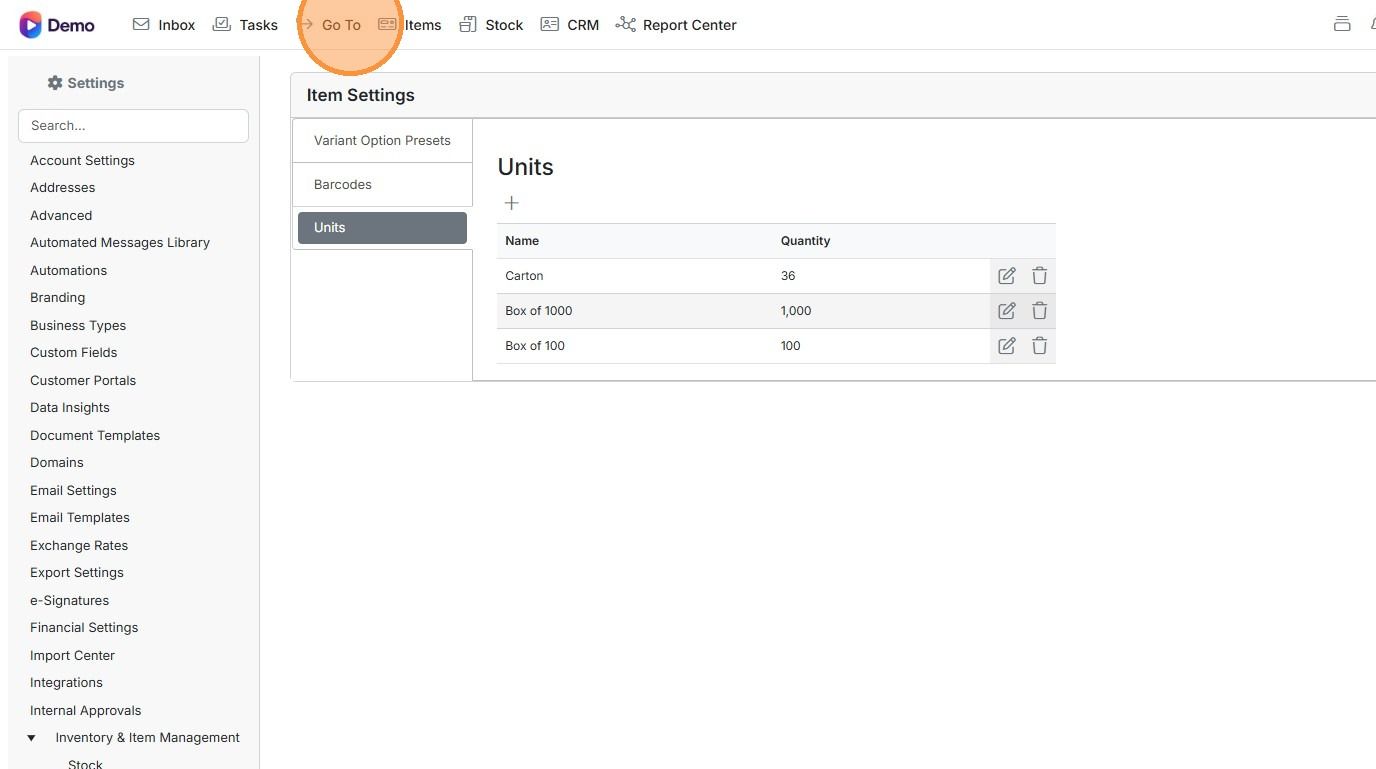
    Item Settings Units tab listing unit sizes, with the Go To menu highlighted in the top navigation bar
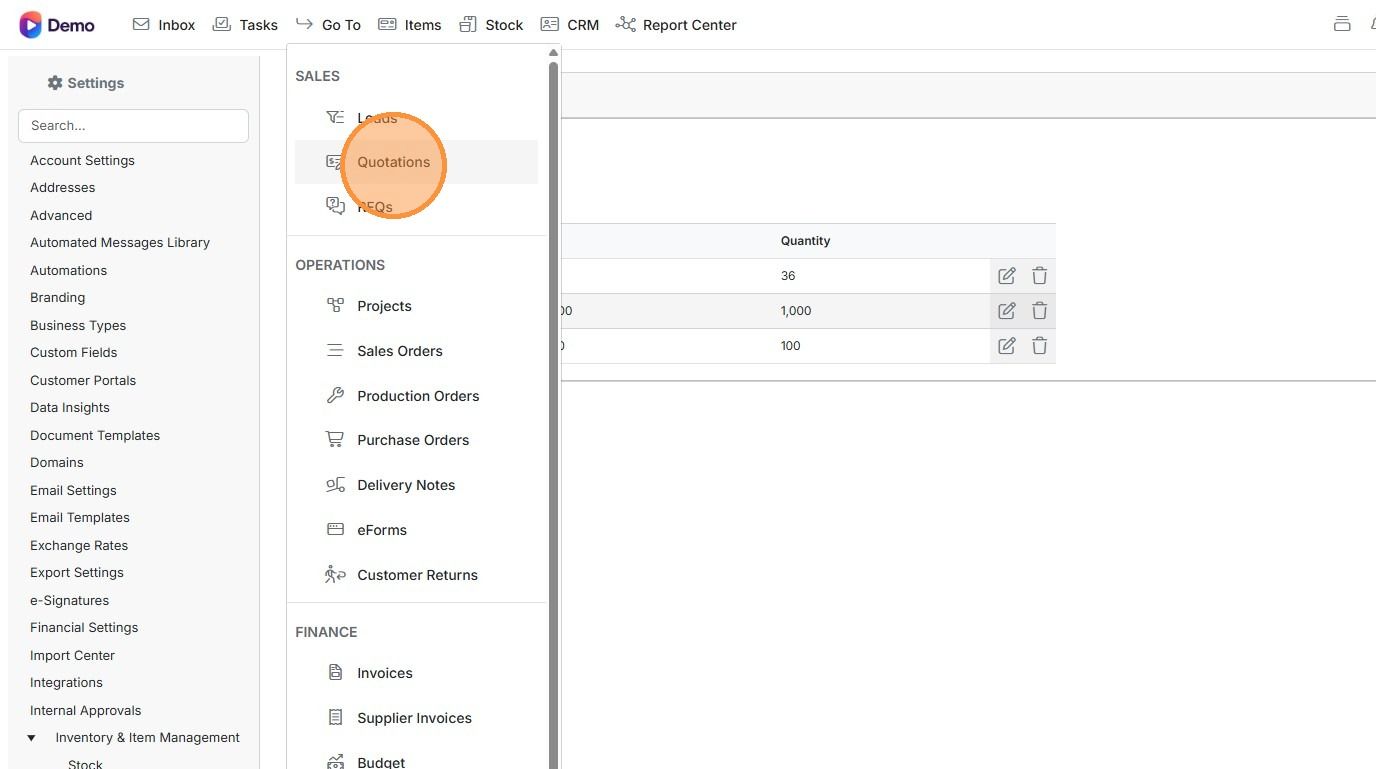
  8. Click "Quotations"

    Go To menu open over Settings, with Quotations highlighted under the Sales section alongside Leads and RFQs
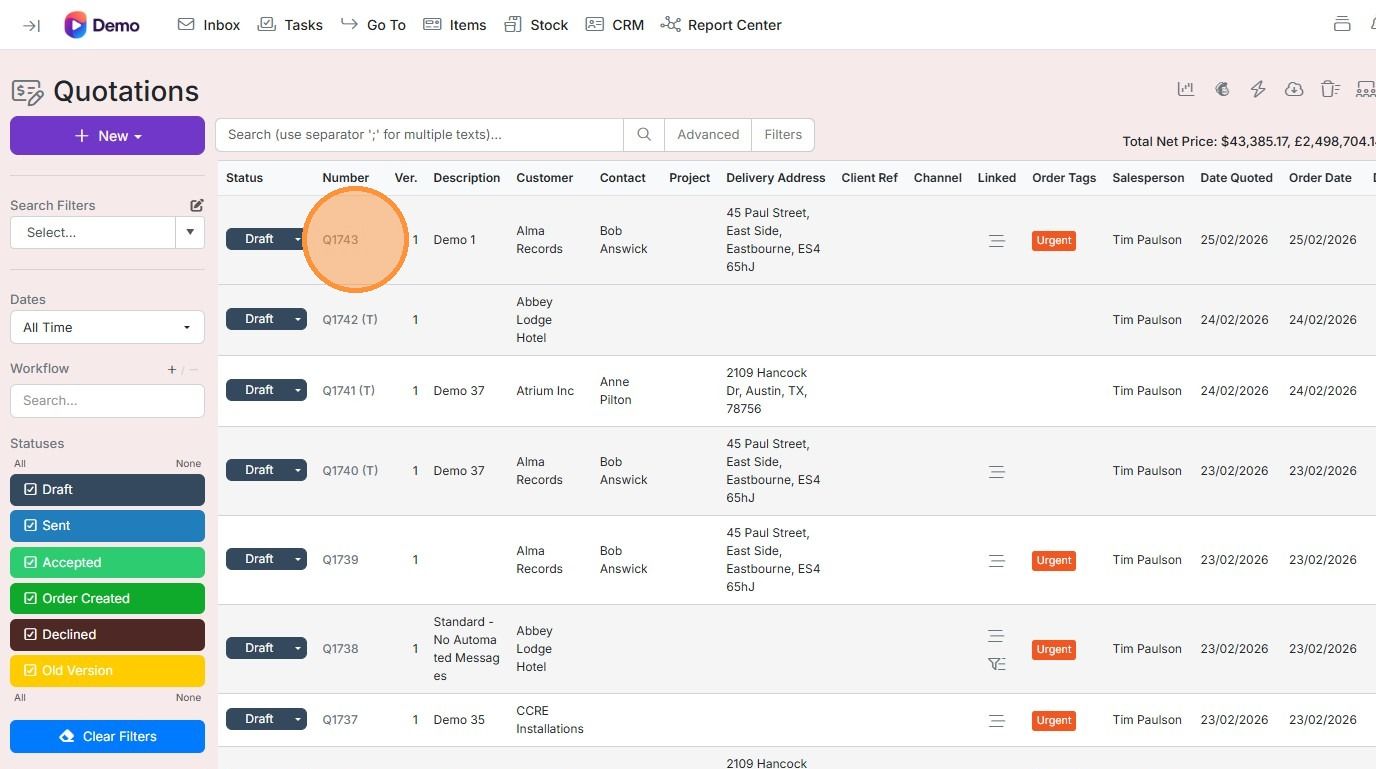
  9. Open any quotation

    Quotations list with the quote number Q1743 in the first row highlighted to open the quotation
  10. Click "Update visible information in this screen"

    Line items grid with the
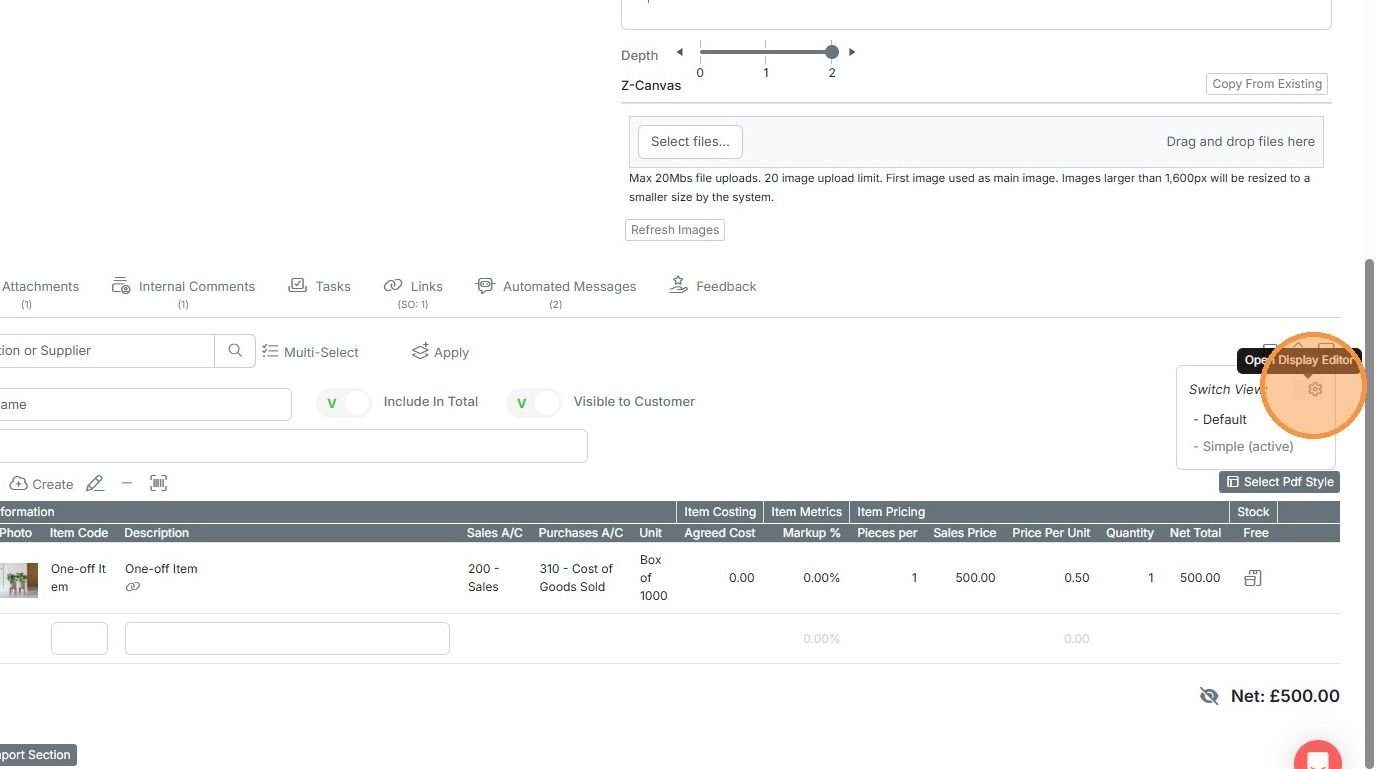
  11. Click on the cog

    Line items table with the cog in the Switch View panel highlighted, showing the Open Display Editor tooltip
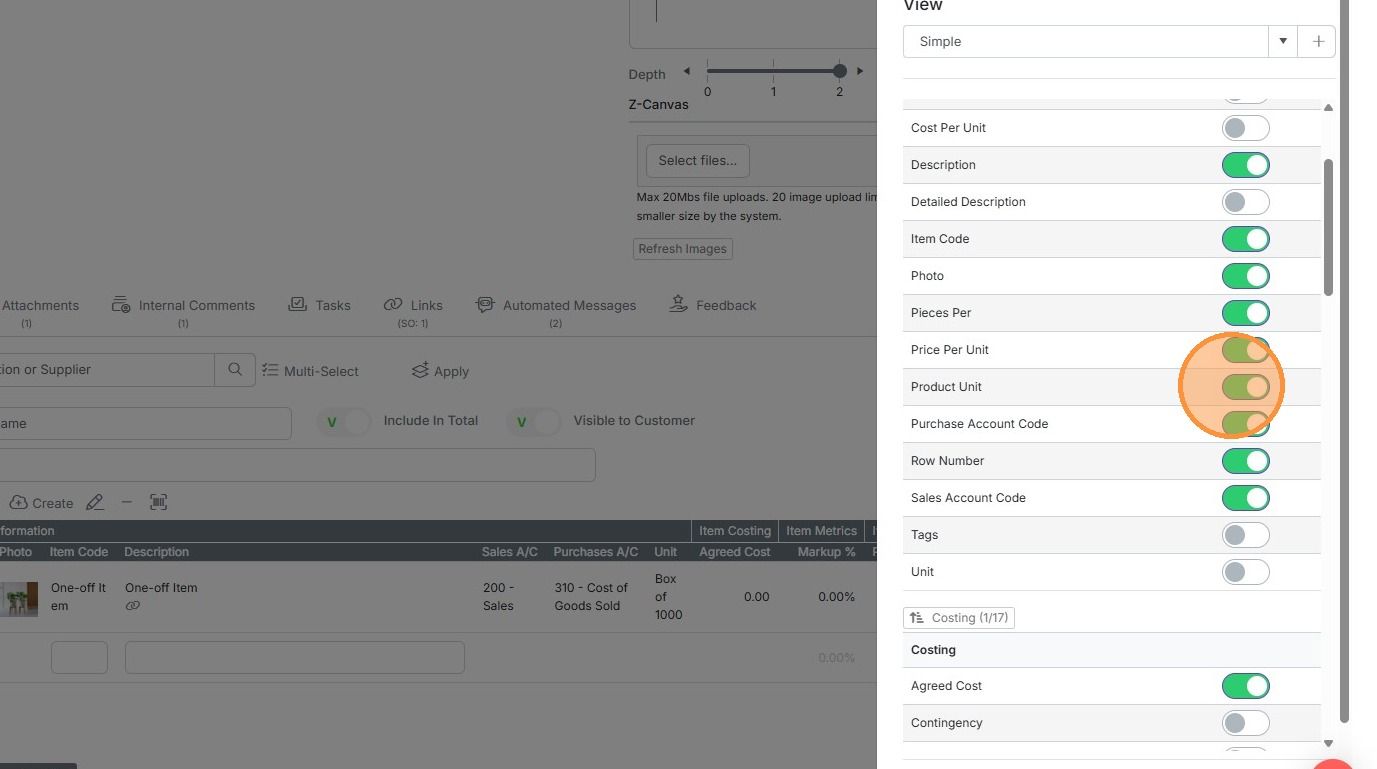
  12. Select Product Unit

    View settings panel with column toggles, the Product Unit toggle highlighted and switched on alongside Price Per Unit
  13. Select Price Per Unit

    View panel column toggles with the Pieces Per, Price Per Unit and Product Unit switches highlighted and turned on
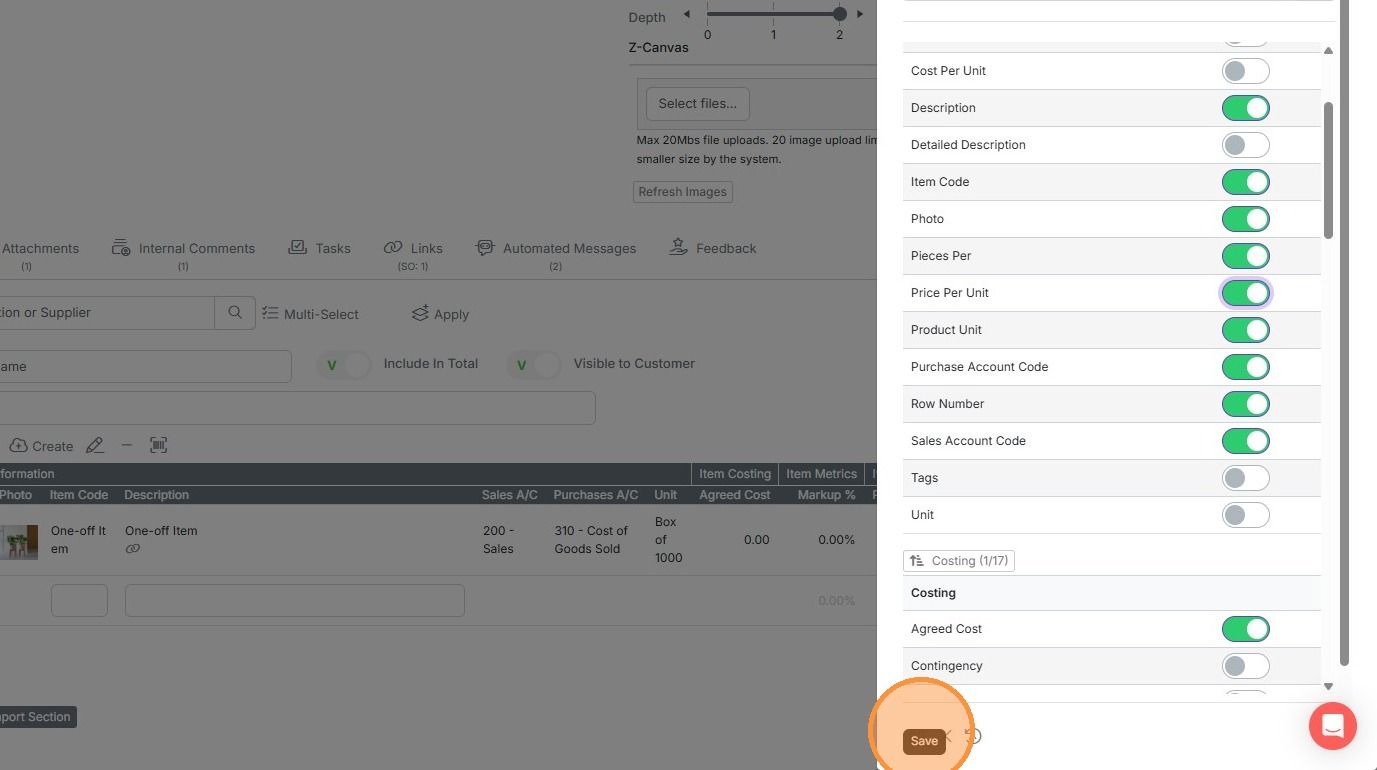
  14. Save the column set

    Column settings panel with Price Per Unit toggled on and the Save button highlighted at the bottom of the panel
  15. And close the pull-out

    Change the unit on a line
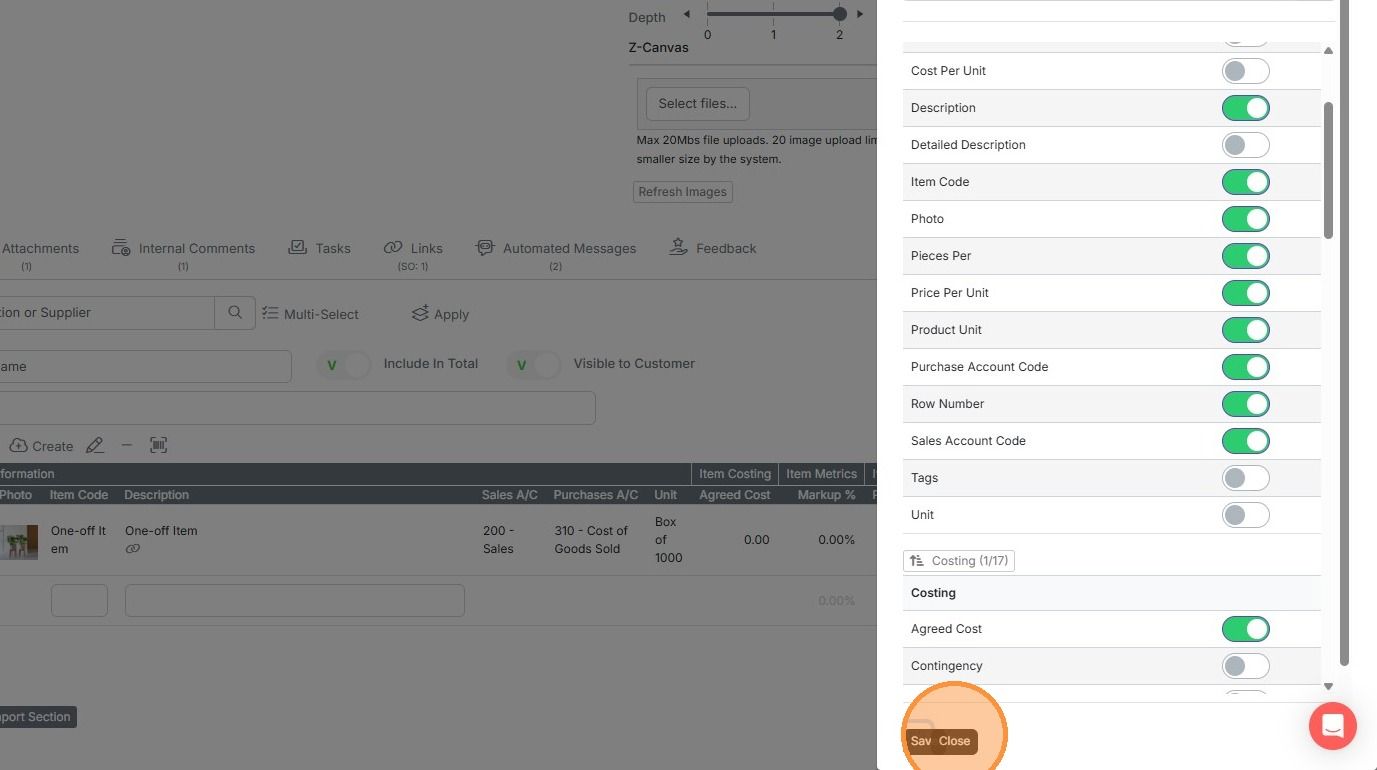
    Column settings pull-out with field toggles, highlighting the Close button at the bottom next to Save
  16. Click on the unit to change it

    Line item Unit dropdown highlighted and open, showing Box of 100, Box of 1000 (selected) and Carton options
  17. The price per unit is calculated

    Learn more: quotes in Zigaflow
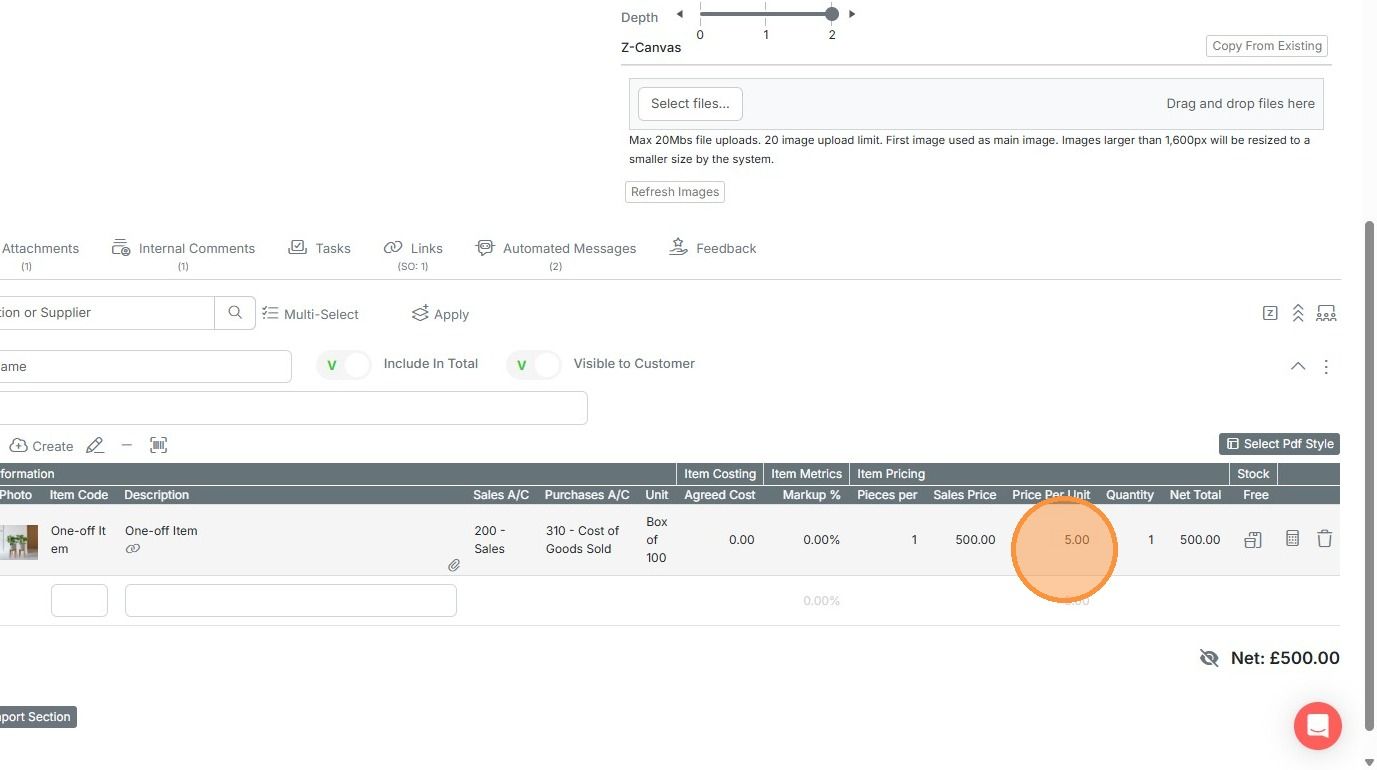
    Line items table with the Price Per Unit column highlighted, showing 5.00 calculated from a 500.00 sales price per box of 100

This applies to both the quotations and RFQ modules.

Use these variables for their PDF templates:

{ItemProductUnit}

{ItemPricePerUnit}

{ItemCostPerUnit})
​

First set up the units, then make them visible on the quotation and RFQ screen (if used).

Create units

Frequently asked questions

Next step

Setting the visible item columnsTo set the visible item columns, open a quotation or job/order, scroll to the items, click Screen Options, then click the settings/cogs icon. Create a named view set with the plus button, show or hide columns, and click Save. Only admin users can set views and default columns.

Was this helpful?

See Zigaflow on your own workflow

Book a demo and we will walk through quoting, jobs and purchasing the way your team runs them.

Or see how Zigaflow would fit your business, free